The fastest fix for a flat portrait is not a faster lens. It is moving the subject two steps closer to the window and six feet further from the wall behind them. Light direction and subject-to-background distance do more visible work than any piece of gear you can buy, and both are free.
Gear still has to clear a technical floor, which is where most portrait photography tips start and stop. In practice, portraits fail for one of five reasons: aperture too wide, shutter too slow, light from the wrong direction, background too close, or a subject nobody actually directed.
Portrait photography settings that work in most situations
Portrait photography settings change with the number of faces and the light source, not with the mood you are after. Adjust these starting points after the first test frame:
| Scenario | Aperture | Shutter | ISO | Focus |
|---|---|---|---|---|
| One subject, open shade | f/2 to f/2.8 | 1/250s | 100 to 400 | AF-C + eye detection |
| Headshot, studio strobe | f/5.6 to f/8 | 1/200s | 100 | AF-S, single point on near eye |
| Couple, two faces | f/4 | 1/250s | 200 to 800 | AF-C + eye detection |
| Group of four or more | f/5.6 to f/8 | 1/250s | 400 to 1600 | AF-S on the front row |
| Indoors, window light | f/2 | 1/200s | 400 to 1600 | AF-C + eye detection |
| Kids, anyone moving | f/2.8 | 1/500s | 400 to 3200 | AF-C with subject tracking |
Shutter speed is the setting most photographers pitch too low. The reciprocal rule gives you 1/85s on an 85mm lens, but that only covers your own hand shake. Standing subjects sway and shift weight, so 1/250s is the real floor and 1/500s the honest number for kids. Buy that speed with ISO rather than aperture: full-frame sensors are clean enough at ISO 1600 that noise is a smaller problem than motion blur.
What is the best focal length for portraits?
85mm on full frame is the most reliable portrait focal length, because it puts you roughly 7 feet from a head-and-shoulders frame. That distance, not the glass, is what makes the proportions look right.
| Focal length | Working distance (head and shoulders) | Rendering | Best for |
|---|---|---|---|
| 35mm | About 3 feet | Includes the room, exaggerates what is nearest | Environmental portraits, tight interiors |
| 50mm | About 4.5 feet | Close to how the eye reads a face | Half-body, walking shots, conversational distance |
| 85mm | About 7 feet | Flattering proportions, strong separation | Headshots, beauty, most client work |
| 135mm | About 11 feet | Compressed, background a wash of color | Tight headshots, outdoor sessions |
The compression people credit to a long lens is really a distance effect. From 3 feet the nose sits closer to the sensor than the ears and renders larger; from 7 feet that ratio flattens. A 35mm and an 85mm shot from one spot and cropped to match show identical proportions, so it is standing further back that flatters, not the glass.
The classic 85mm primes cost less than people expect: the Sony FE 85mm f/1.8 and Canon RF 85mm f/2 Macro IS STM both run around $600, the Nikkor Z 85mm f/1.8 S around $800. On APS-C, 56mm gives the same field of view (the Fujifilm XF 56mm f/1.2 R), and Canon’s 1.6x crop makes a 50mm behave like an 80mm. Our roundup of the best portrait lens for Sony sorts the E-mount options by budget.
What aperture should you use for portraits?
The best aperture for portraits of one person is f/2 to f/2.8. Wider is not automatically better, and the math shows why: at 85mm from about 6.5 feet, f/2.8 gives you roughly 3.5 inches of depth of field, while f/1.4 leaves under 2 inches. Two inches does not span a face at a three-quarter angle, so the near eye lands sharp and the far eye softens into mush.
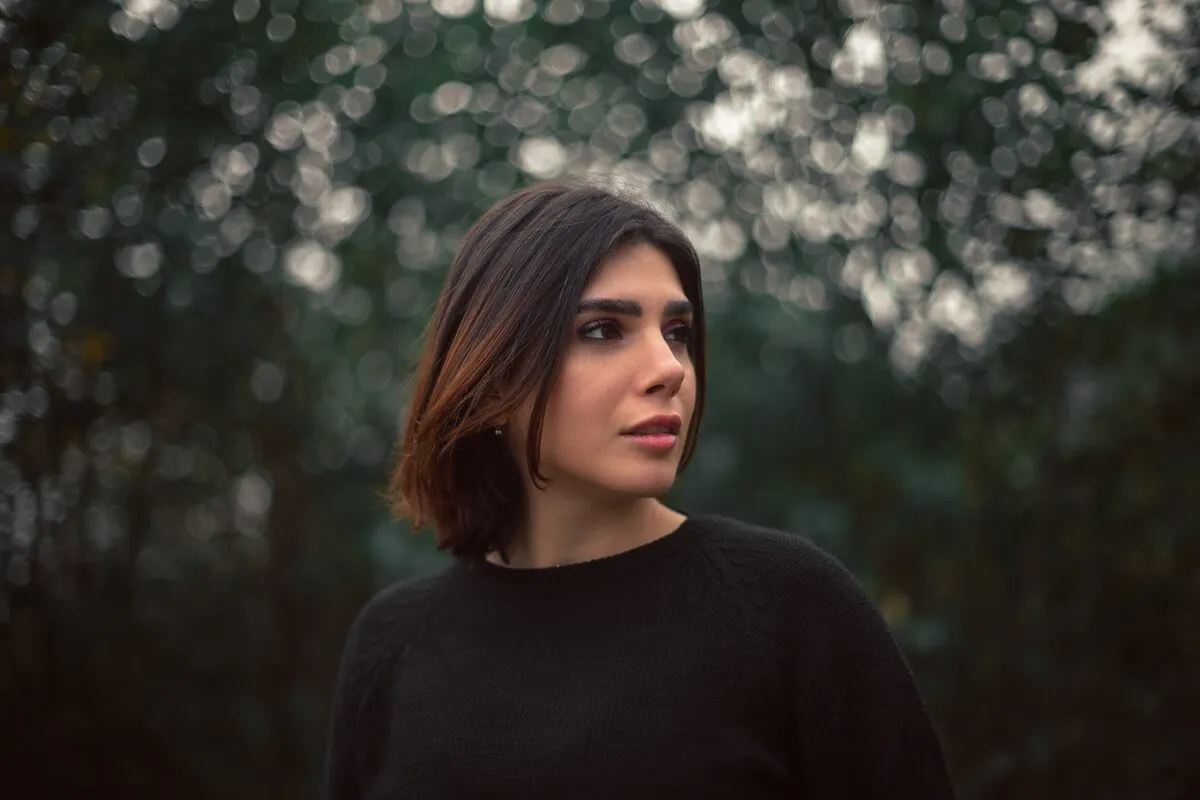
Photo by rasul lotfi on Pexels
Scale it with the number of faces: f/4 for two people shoulder to shoulder, f/5.6 for a single row of three or more, f/8 once there are two rows.
Most lenses are also sharper one to two stops down from wide open, so an f/1.4 lens at f/2 beats an f/1.8 lens wide open. That headroom is much of what the faster glass buys you. What it cannot buy is light arriving from the right direction.
Soft, directional light beats bright light every time
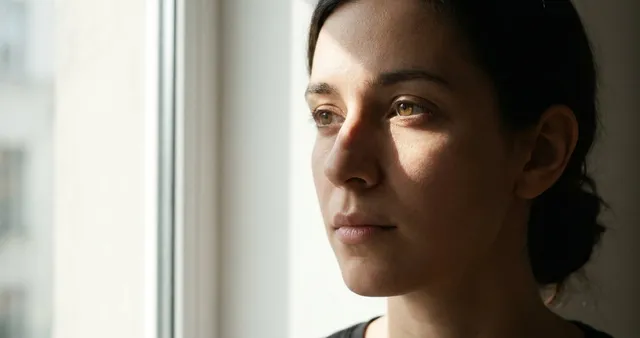
Direction matters more than quantity in portrait lighting. A face lit from 45 degrees to one side and slightly above eye level gets a nose shadow, a cheekbone, and a jawline. A face lit head-on gets none of them, which is why noon sun produces such lifeless portraits.
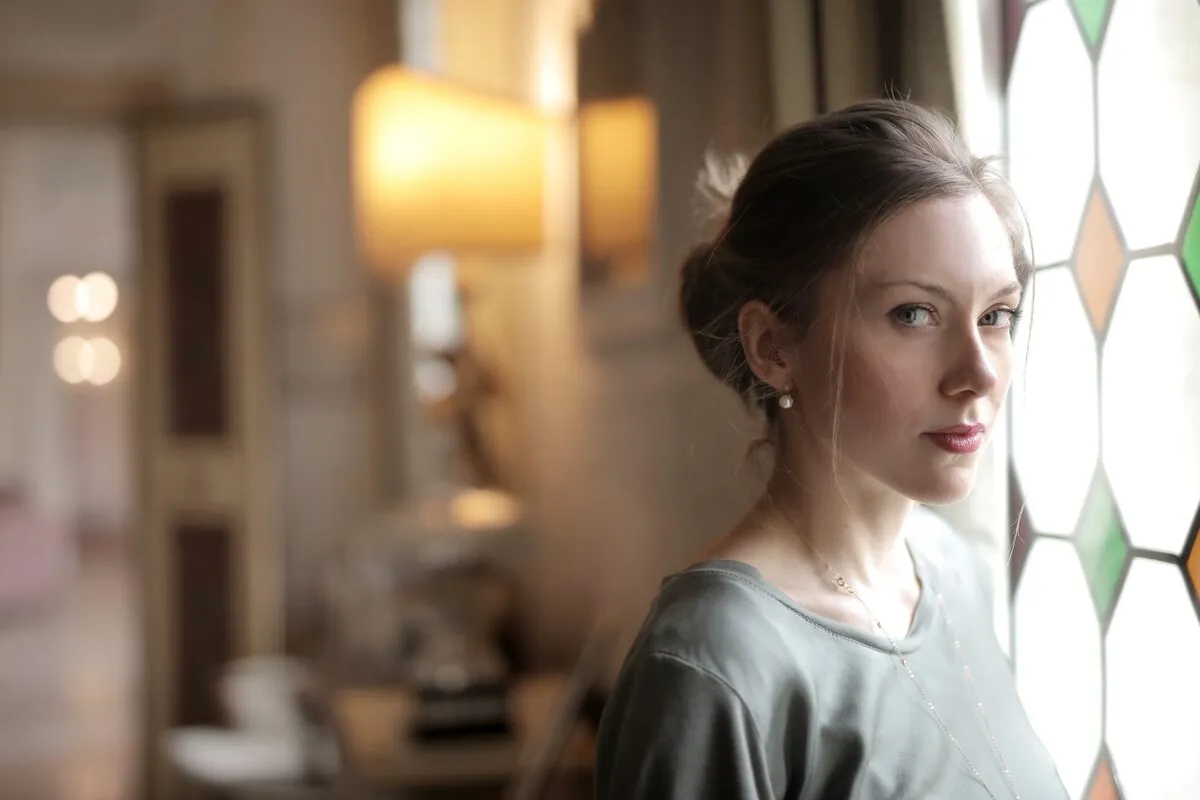
Photo by Andrea Piacquadio on Pexels
Four sources cover almost every session:
- A north-facing window. Turn the subject until the light rakes across the face instead of hitting it flat. Moving them from 6 feet to 3 feet makes the light both softer and faster to fall off, which is the contrast you want.
- Open shade. The shadow side of a building, an archway, a tree canopy. Keep the subject at the edge of the shade facing open sky, so the light still arrives from somewhere.
- A reflector. A 42-inch 5-in-1 costs around $30 and buys a second source. White fills gently; silver is brighter and easy to overdo.
- Backlight plus fill. Sun behind the subject for rim light on the hair, then bounce or flash the face back up. This is why so many photographers pack a speedlight outdoors.
For a specific look rather than just flattering light, learn the named studio patterns: Rembrandt lighting puts the key at 45 degrees for a sculpted result with a triangle of light on the shadowed cheek.
Direct the subject instead of posing them
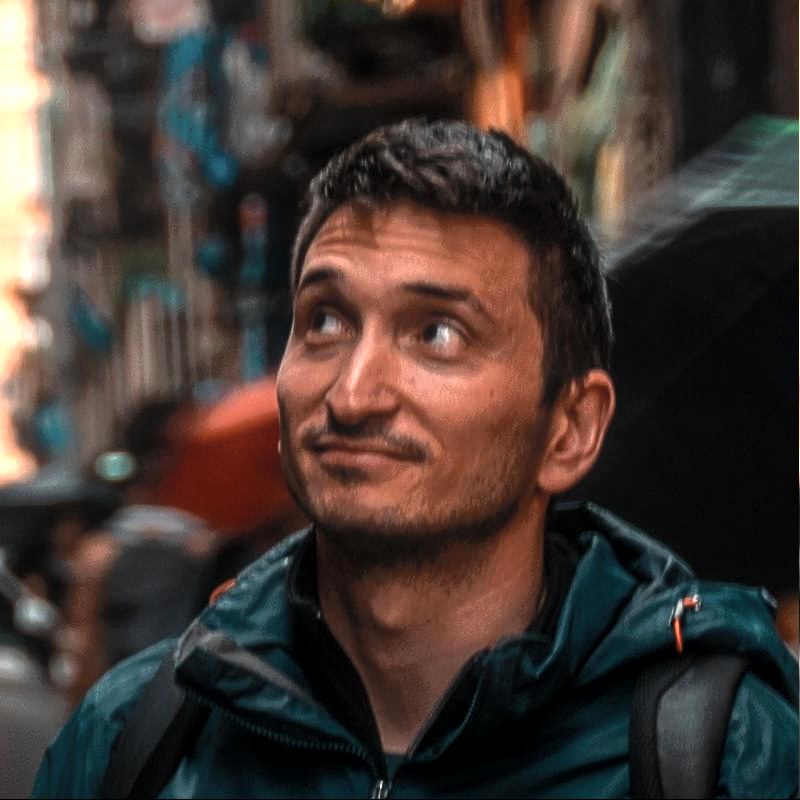
The difference between a stiff portrait and a good one is usually direction, not the pose. People told to “look natural” freeze; people given a small physical task stop thinking about the camera.
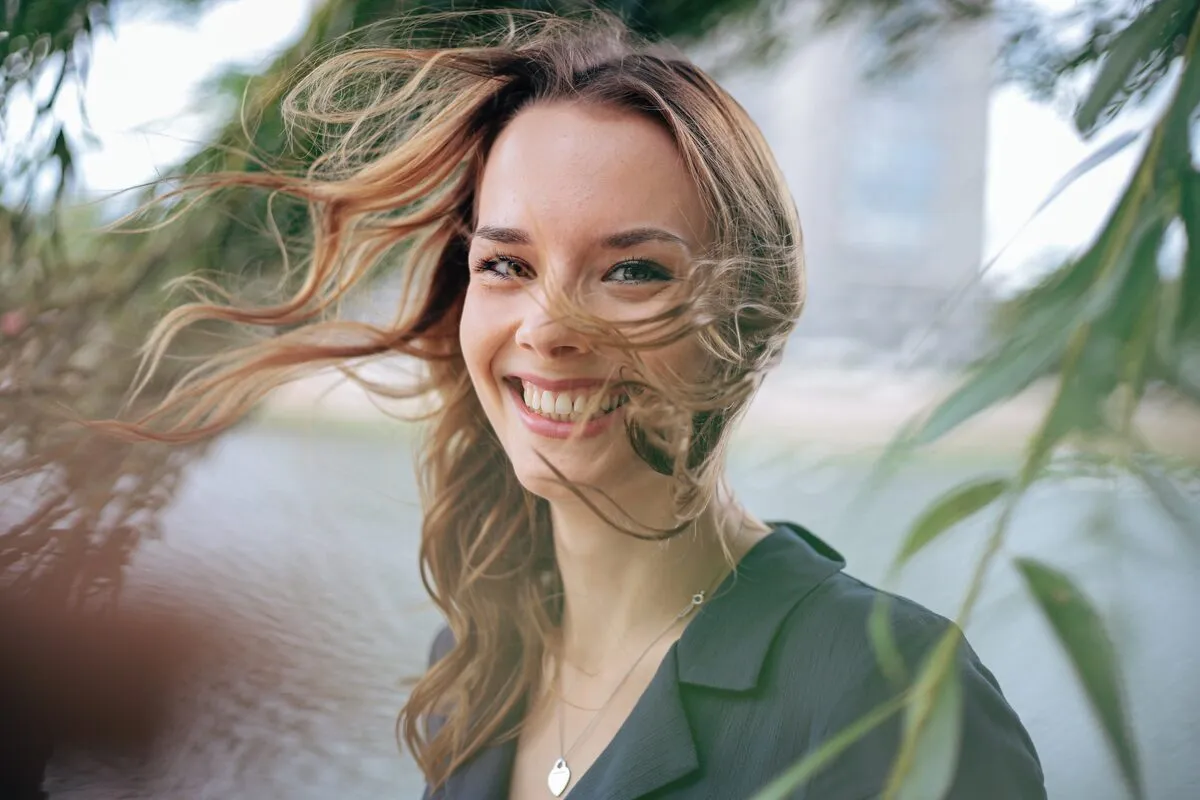
Photo by Sadettin Dogan on Pexels
A handful of directions carry most sessions:
- “Push your forehead toward me, then drop your chin slightly.” The jaw-forward adjustment. It feels absurd from the subject’s side of the lens, and it defines the jawline in every frame.
- “Put your weight on your back foot.” Instant relaxed posture, and it kills the both-feet-planted stance that reads as a passport photo.
- Give the hands a job. In a pocket, on a collar, holding a cup, adjusting a sleeve. Hands with nothing to do are the most common tell in an amateur portrait.
- Ask a question instead of asking for a smile. “What did you do this morning?” produces a real expression about two seconds after they answer. Keep shooting through it.
Work in short bursts around each direction. Genuine expressions last a fraction of a second, and the frame you want is never the first one after the instruction.
Check the background before you press the shutter
A portrait background is the part of the frame most photographers only notice in editing. Give the subject 6 to 10 feet of separation and it goes soft on its own, whatever aperture you are at. Then scan for three things: a vertical line growing out of someone’s head, a bright patch pulling the eye off the face, and a dark subject against a dark wall. Moving your own feet three steps left fixes all three faster than moving the subject.
Keep the set consistent through editing and delivery
A portrait set is judged as a set. Clients scroll 30 or 40 images in a row, and inconsistent white balance or exposure reads as sloppiness even when every frame is fine alone. So cull first and edit second: pick the strongest frame from each expression, sync base adjustments across the selection, then refine individually. A branded client gallery keeps the set in the order you intended and shows which images the client returned to most, useful information before the next session.
The best exercise for how to take better portraits needs one face and one window. Shoot the same person at f/1.4, f/2.8, and f/5.6, then again with the light coming from the front, the side, and behind. Nine frames, ten minutes, one subject. Reviewing those side by side teaches more than any set of rules, because it shows you exactly where your own taste sits.