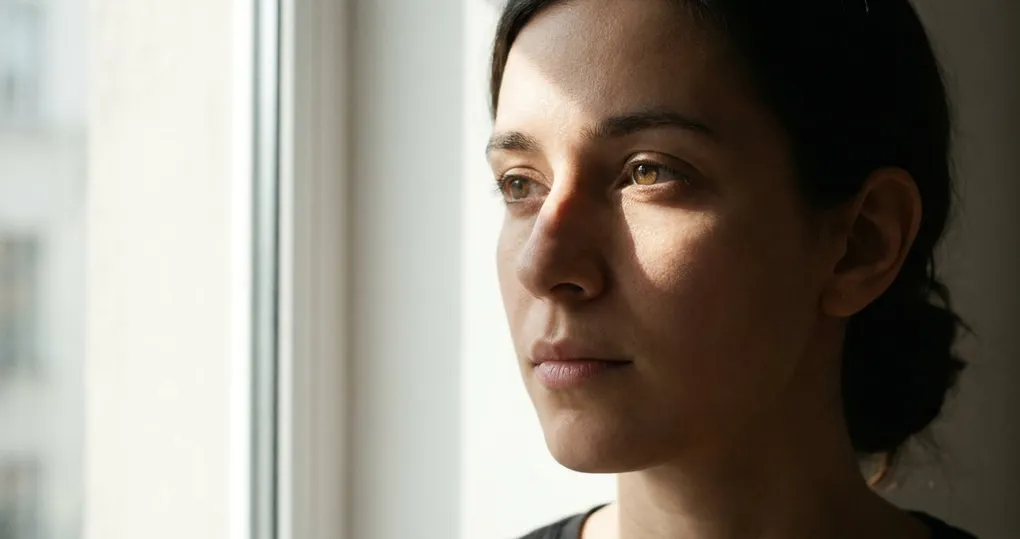
Rembrandt lighting is the single most useful portrait lighting pattern you can learn. It works with one light source, flatters most face shapes, and produces the kind of sculpted, three-dimensional look that separates a portrait from a snapshot.
The pattern is named after the Dutch painter Rembrandt van Rijn, whose portraits consistently featured a small triangle of light on the shadowed cheek just below the eye. That triangle is the signature. If it is missing, you have a different pattern. If it stretches past the nose or below the mouth, the light needs adjusting.
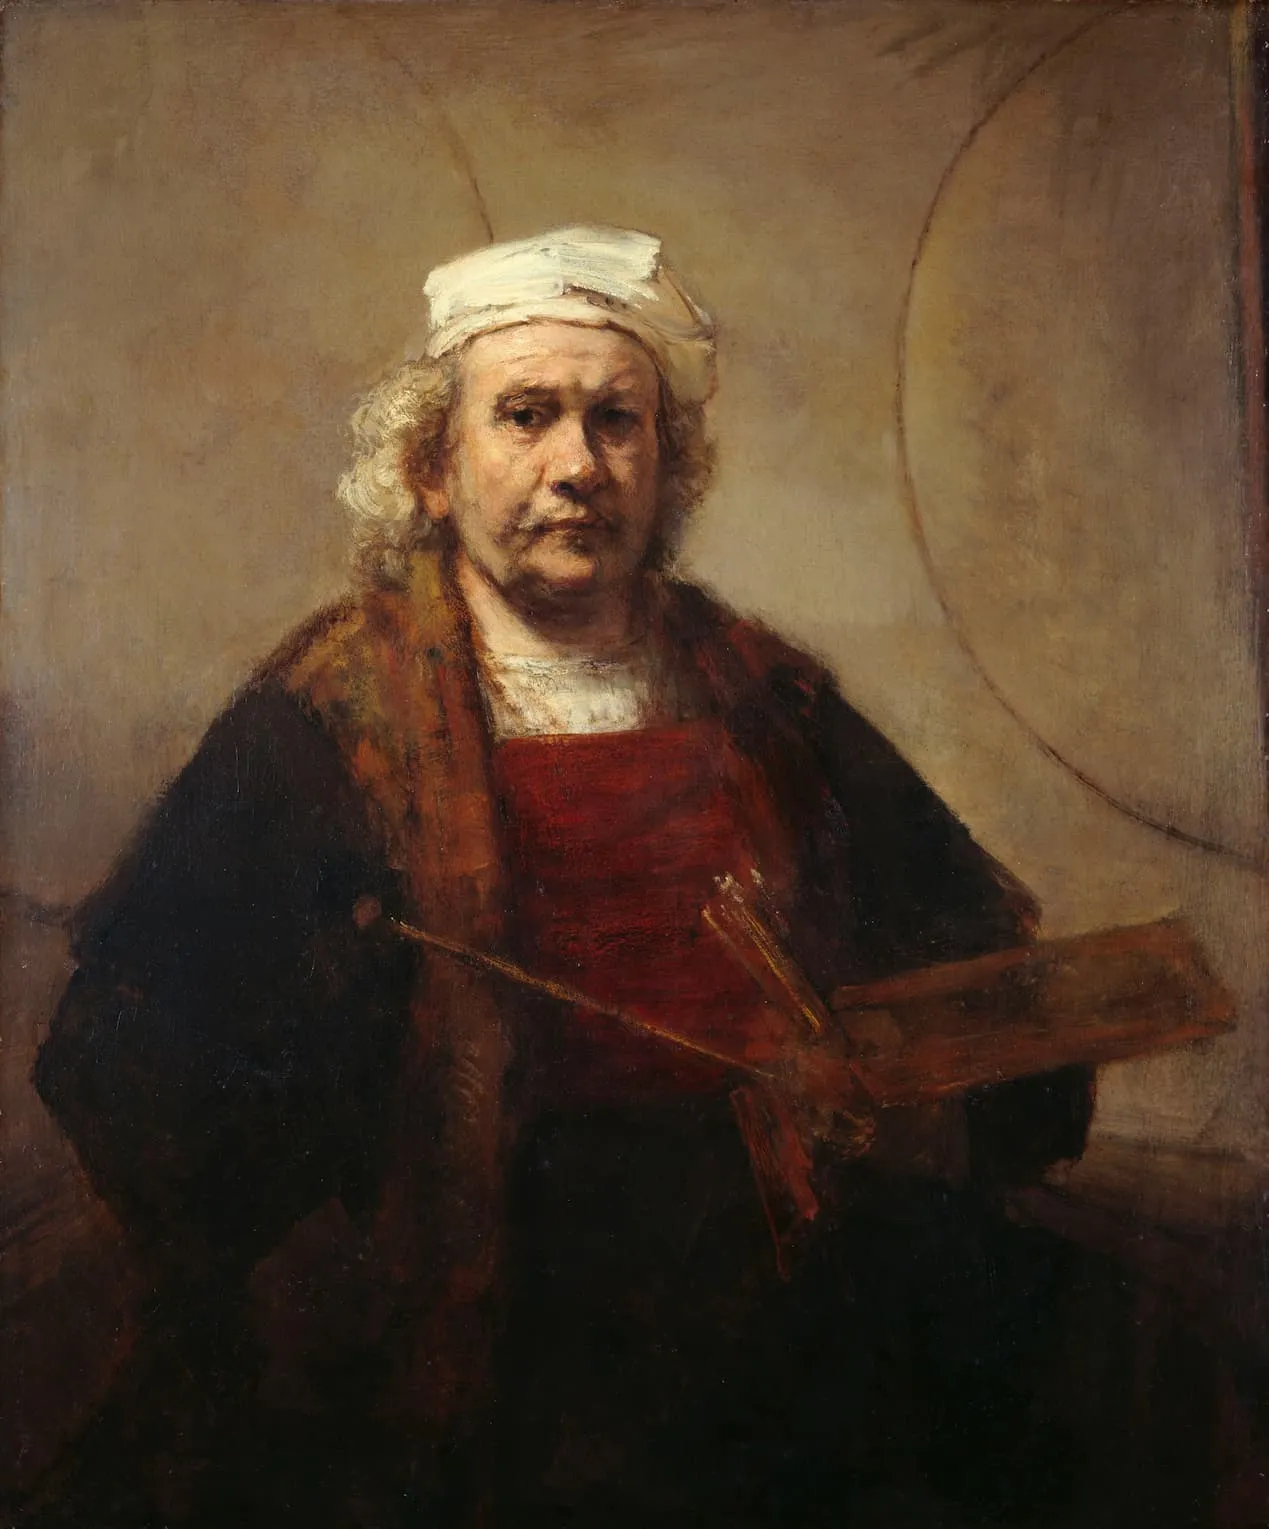 Rembrandt van Rijn, “Self-Portrait with Two Circles” (c. 1665-1669), Kenwood House, London. Public domain.
This guide covers the rembrandt lighting setup with studio lights and window light, how to read and adjust the shadow triangle, and when to push further into split lighting photography for a bolder look.
Rembrandt Lighting Setup: Step by Step
The rembrandt lighting setup requires a single light source. One strobe, one speedlight, or one window is all you need.
- Position the light at approximately 45 degrees to one side of the subject.
- Raise it to about 45 degrees above their eye line. This is the most common mistake: too low, and the triangle disappears into flat side lighting.
- Turn the subject slightly away from the light source (not toward it).
- Watch the shadow-side cheek. Adjust the light angle or the subject’s head until a small triangle of light appears below the eye on the shadowed side.
The triangle should be no wider than the eye and no longer than the nose. This tells you the light is high enough and angled enough to create dimension without hiding too much of the face.
Modifiers and Light Quality
A bare strobe or speedlight produces hard rembrandt lighting with crisp shadow edges. This works for dramatic editorial portraits. For a softer look:
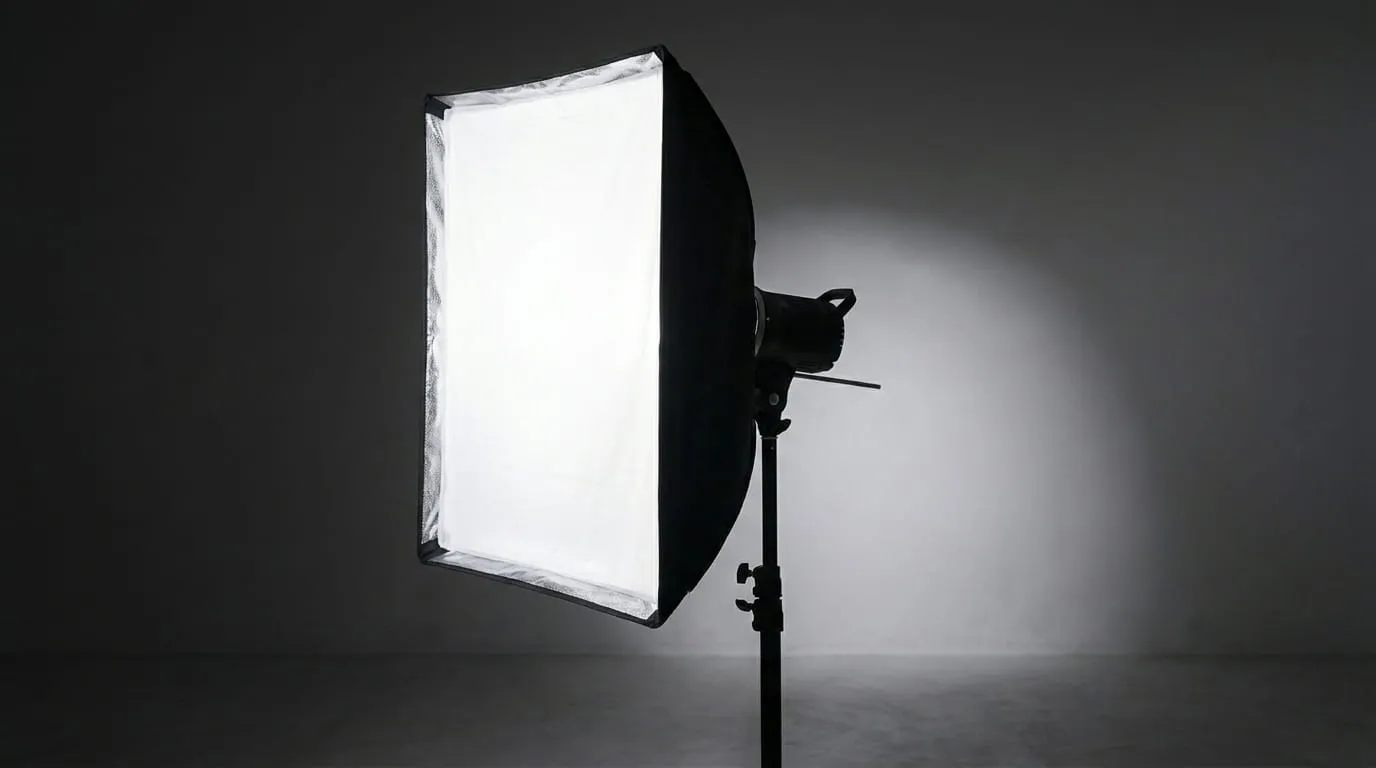
- Softbox or umbrella (shoot-through or reflective) spreads the light and softens the shadow transition. A 24-36 inch softbox at arm’s length from the subject is a good starting point.
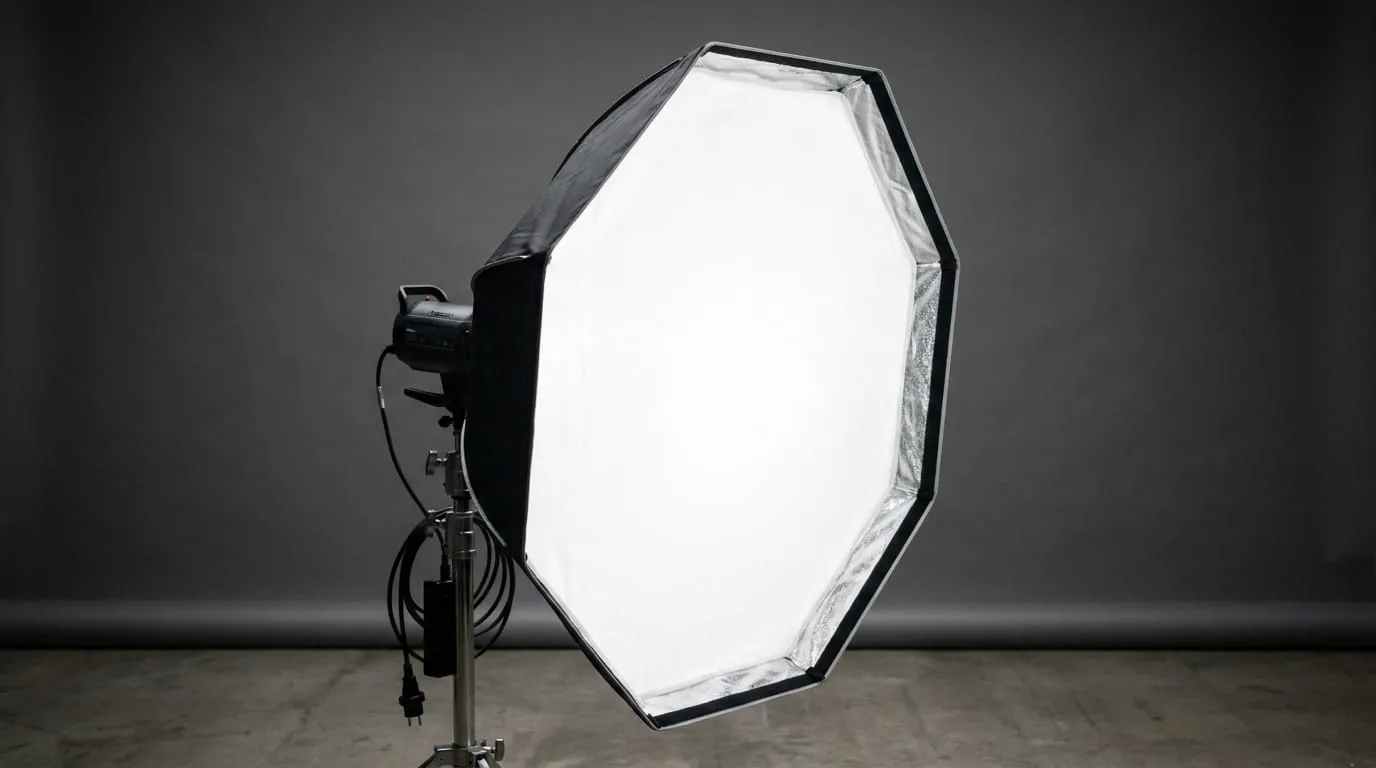
- Octabox produces a rounder catchlight in the eyes, which many portrait photographers prefer.
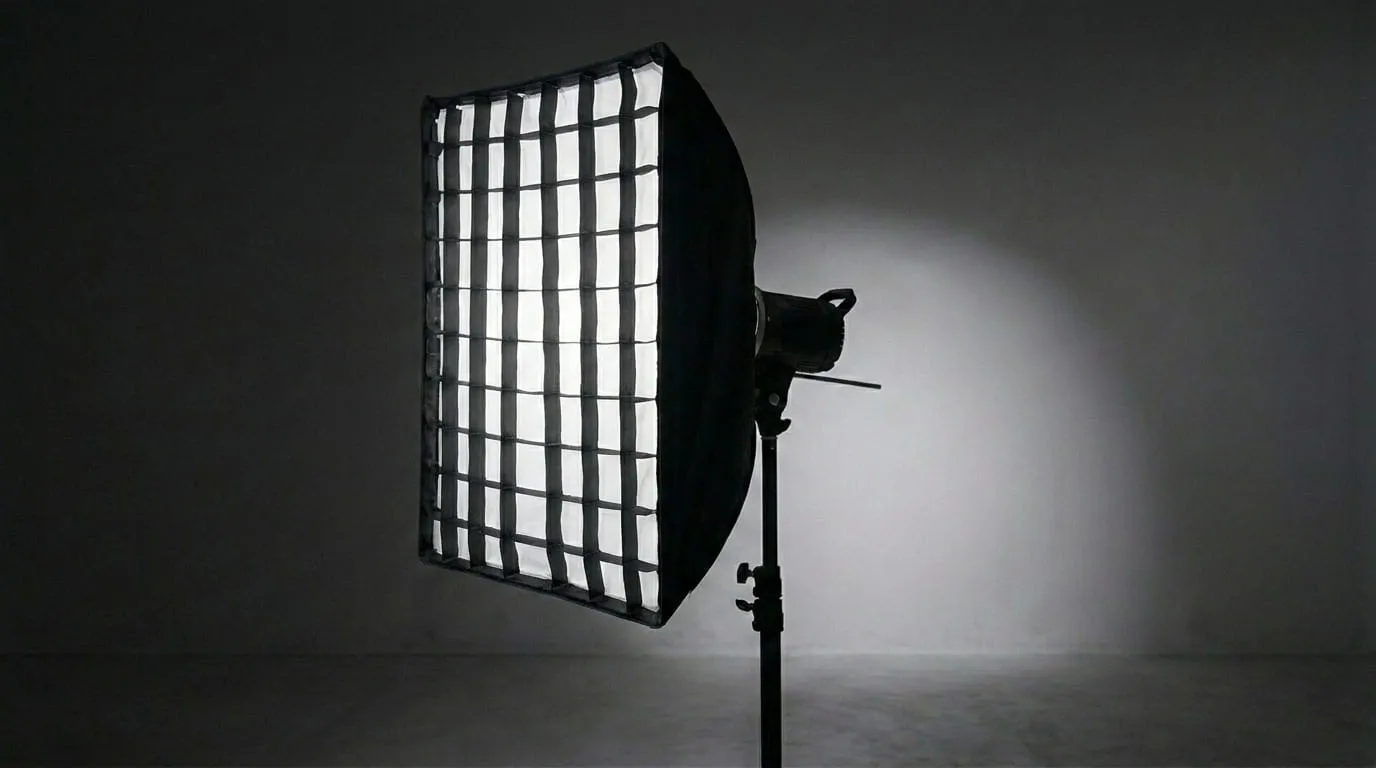
- Grid on the softbox keeps the light from spilling onto the background, giving you more control over the shadow side.
The modifier changes the quality of the shadows but not the pattern. As long as the triangle is there, it is still rembrandt lighting.
Camera Settings
| Setting | Recommendation |
|---|---|
| Metering | Spot meter on the lit cheek |
| Aperture | f/2.8 to f/5.6 for subject isolation |
| ISO | 100 to 400 (studio), higher for window light |
| White balance | Flash preset (studio) or Daylight (window) |
| Focus | Single-point AF on the nearest eye |
Meter for the lit side of the face. Add a reflector or fill card on the shadow side if you want a gentler look with more visible shadow detail.
Window Light Rembrandt
A single window is the original rembrandt lighting photography setup, and still one of the best.
- Position the subject so the window sits at roughly 45 degrees to one side of their face, slightly above eye level. North-facing windows (in the northern hemisphere) provide consistent, soft light throughout the day.
- Have the subject turn slightly away from the window.
- Adjust their position until the triangle appears on the shadow cheek.
- A white reflector or foam board on the shadow side bounces fill light back into the face. Place it about 2 to 3 feet from the subject.
Sheer curtains act as a natural diffuser for direct sunlight, softening hard shadows without losing the pattern. On overcast days, the window produces beautifully soft rembrandt lighting without any modification. During golden hour, a west-facing window adds warm color to the light, producing a particularly rich Rembrandt effect.
This approach needs zero equipment beyond a camera. Understanding how light behaves in different conditions helps you read window light and adapt your positioning.
From Rembrandt to Split Lighting
Split lighting photography is what happens when you push the light further to the side. Instead of 45 degrees, move the light to 90 degrees, directly beside the subject. The result: exactly half the face is lit and the other half falls into complete shadow, with the dividing line running straight down the nose.
Split Lighting Setup
- Place the light directly to one side of the subject, at face height (not above).
- The subject faces the camera straight on.
- Adjust until the shadow line bisects the face down the middle. If more than half is lit, the light is too far forward.
No fill light keeps a split lighting portrait clean and dramatic. Adding a reflector on the shadow side softens the effect back toward Rembrandt territory.
Light height matters. Keeping the light at face level produces the cleanest split. Raising it introduces a downward shadow gradient that muddies the division.
A split lighting portrait works well for musicians, athletes, and creative headshots where a bold, high-contrast look is the goal. It emphasizes texture on the lit side while concealing the shadow side entirely, which can be used deliberately for effect or to hide blemishes.
Think of these two patterns as a spectrum: Rembrandt at 45 degrees, split at 90, and everything in between producing variations of side lighting. Learning to slide between them by repositioning a single light gives you a wide range of moods from one setup.
Common Setup Mistakes
Triangle too large. The light is too low or too frontal. Raise it and move it further to the side until the triangle shrinks to eye-width.
No triangle at all. The subject is turned too far toward the light (becoming broad lighting) or the light is directly to the side (becoming split). Have the subject turn slightly away from the light.
Flat shadow side. If the shadow cheek has no tonal variation, the light ratio may be too high. A reflector or low-powered fill light brings back just enough detail to read the face shape without eliminating the shadow.
Hot spots on the nose. If the bridge of the nose catches too much light, the source is too close to center. Move it further to the side.
Practice in Ten Minutes
Set up one light (or sit a friend next to a window), position it at 45 degrees above and to the side, and adjust until the triangle appears. Take five frames. Then slide the light to 90 degrees for split lighting photography and take five more. Compare the two sets. That exercise alone builds the instinct for reading light angle and shadow shape that makes every future portrait session faster.
For a different mood entirely, try butterfly lighting photography, which moves the light directly in front of and above the subject for a glamorous, symmetrical look.