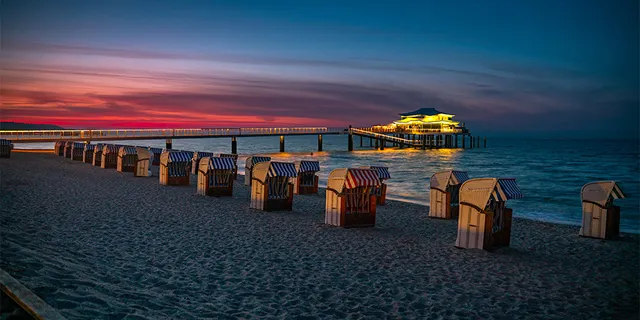
You have already experienced it without knowing the name. That moment when a boring parking lot suddenly looks cinematic. When your subject’s skin glows without any retouching. When the shadows stretch long and the whole world feels lit from within.
That is golden hour, and it is the single most reliable tool in outdoor photography. No lighting kit, no studio rental, no assistant. Just you, a camera, and a sixty-minute window that resets twice a day.
This guide covers everything you need: the science behind why it works, how to time it down to the minute, the golden hour photography settings that capture it properly, and the techniques that turn good light into unforgettable images.
1. Why Golden Hour Light Looks So Good
The sun does not actually change color. The atmosphere does the work.
When the sun sits low on the horizon, its light travels through far more of the Earth’s atmosphere than it does at noon. Shorter wavelengths (blues and greens) scatter out along the way, leaving longer wavelengths (reds, oranges, and yellows) to dominate. The result is warm, directional light with a color temperature around 3000-4000K, compared to the harsh 5500-6500K of midday sun.
Three qualities make this light exceptional:
- Soft shadows. Low-angle light creates long, gradual shadows instead of short, harsh ones. Faces look smoother, landscapes gain depth, and nobody squints.
- Warm color cast. The orange-gold tone flatters skin, enriches foliage, and makes ordinary scenes feel cinematic.
- Directional quality. Side lighting from a low sun reveals texture: every blade of grass, every wrinkle in a canyon wall, every strand of hair gets dimension.
If you want to understand how light behaves across different conditions, our introduction to light in outdoor photography covers the broader fundamentals.
2. Timing: When Exactly Is Golden Hour
Golden hour is not a fixed clock time. It shifts with the seasons and your latitude, and it does not wait for you. Miss the window by 30 minutes and you are shooting in ordinary daylight.
What it actually means: the first 60 minutes after sunrise and the last 60 minutes before sunset. The exact duration varies, sometimes stretching to 90 minutes in summer at higher latitudes, sometimes shrinking to 30 minutes near the equator.
| Phase | Time | Light quality |
|---|---|---|
| Early golden | First 15 min after sunrise / last 45 min before sunset | Softest, most golden |
| Peak golden | 15-45 min after sunrise / 45-15 min before sunset | Warm, directional, ideal for most subjects |
| Transition to blue hour | 45-60 min after sunrise / 15-0 min before sunset | Light cools, sky turns pink and purple |
The sweet spot is the peak golden phase. The light is warm enough to glow but still strong enough for fast shutter speeds.
Finding golden hour times: PhotoPills ($10.99) and The Photographer’s Ephemeris ($8.99) both include golden hour calculators that map the sun’s path and show start and end times down to the minute for your GPS coordinates. Sun Surveyor Lite (free) covers the basics: sunrise, sunset, and golden hour windows.
Whatever tool you pick, arrive 15 minutes before golden hour begins. You want your composition ready before the good light arrives, not while it is slipping away.
3. Camera Settings for Golden Hour Photography
The light changes fast during golden hour, so your settings need to change with it. The direction depends on which session you shoot.
Sunrise Golden Hour
Sunrise photography is a race in reverse: you start in near darkness, and the light builds by the minute. The reward is empty locations, calm air, and morning mist that sunset shooters never see.
| Setting | Starting point | Adjust as light builds |
|---|---|---|
| ISO | 100-400 | Drop to 100 as the sun rises |
| Aperture | f/2.8-f/5.6 (portraits), f/8-f/11 (landscapes) | Keep constant or stop down |
| Shutter speed | 1/125-1/500 | Increase to 1/1000+ |
| White balance | Daylight or Cloudy preset | Leave on Daylight for warm tones |
| Metering mode | Spot metering on subject | Switch to evaluative as scene evens out |
Shoot in manual mode or aperture priority with exposure compensation at -0.3 or -0.7. This preserves rich sky colors and prevents blown highlights.
Sunset Golden Hour
The evening session runs the same race in the opposite direction: bright start, fading finish.
| Setting | Starting point | Adjust as light fades |
|---|---|---|
| ISO | 100-200 | Increase to 400-800 |
| Aperture | f/2.8-f/5.6 (portraits), f/8-f/11 (landscapes) | Open wider as light drops |
| Shutter speed | 1/500-1/1000 | Drop to 1/125 or slower |
| White balance | Daylight or Cloudy preset | Switch to Shade for extra warmth |
| Metering mode | Evaluative or center-weighted | Spot meter as background dims |
As the sun dips below the horizon, you will need a tripod for shutter speeds slower than 1/60. If sharpness is a recurring concern, our guide on why your photos are not sharp covers the most common causes of blur.
Shoot in RAW
Golden hour color is rich and nuanced, and JPEG compression throws much of it away. RAW files preserve the full tonal range, letting you recover blown highlights and push shadow detail during editing. For more on file formats, see our RAW vs JPEG comparison.
4. Golden Hour Portrait Techniques
Golden hour portraits are some of the most flattering images you can create. The warm, directional light wraps around faces like a natural softbox, and subjects relax when they are not squinting into harsh sun. Here is how to nail them.
Position Your Subject Relative to the Sun
Place the sun behind or to the side of your subject. Direct front lighting at golden hour can still be harsh. Backlighting creates a glowing rim around hair and shoulders; side lighting carves dimension into facial features. For the classic golden hour portrait look, position your subject at a 45-degree angle to the sun.
Exposure Settings for Golden Hour Portraits
| Setting | Value |
|---|---|
| Aperture | f/2.8-f/4 for subject isolation |
| ISO | 100-400 |
| Shutter speed | 1/250 or faster to freeze movement |
| White balance | Cloudy preset for extra warmth |
| Focus mode | Single-point AF on the nearest eye |
Meter for your subject’s face, not the bright sky behind them. If the background blows out, let it. A glowing, overexposed background is part of the golden hour portrait aesthetic.
Use a Reflector for Fill Light
A 5-in-1 reflector with the gold side facing your subject bounces warm light back into shadow areas. Hold it at chest level, angled slightly upward. The silver side works too, but it produces a cooler fill that fights the golden tone. Shooting solo? Put the reflector on a stand or prop it against something stable.
Posing Tips for Golden Hour Portraits
Have subjects turn their faces toward the light source. A profile or three-quarter view catches the rim light better than a straight-on pose, and a chin tilted slightly down prevents squinting. The best golden hour portrait sessions happen when the subject relaxes and the light does the work.
One more tip that has nothing to do with light: deliver fast. Clients are never more excited about their photos than the evening of the shoot. Sharing a preview gallery while the experience is still fresh leads to faster selections and better reviews.
5. Compositional Techniques for Golden Hour
Great light deserves more than a centered subject and a lucky snap. These four techniques give the light something to do.
Shoot Into the Light
Position your subject between you and the sun to create a rim of golden light around their edges. This produces separation and a glowing halo effect. Meter for your subject’s face and let the background blow out slightly, or use a reflector to bounce light back into the shadows.
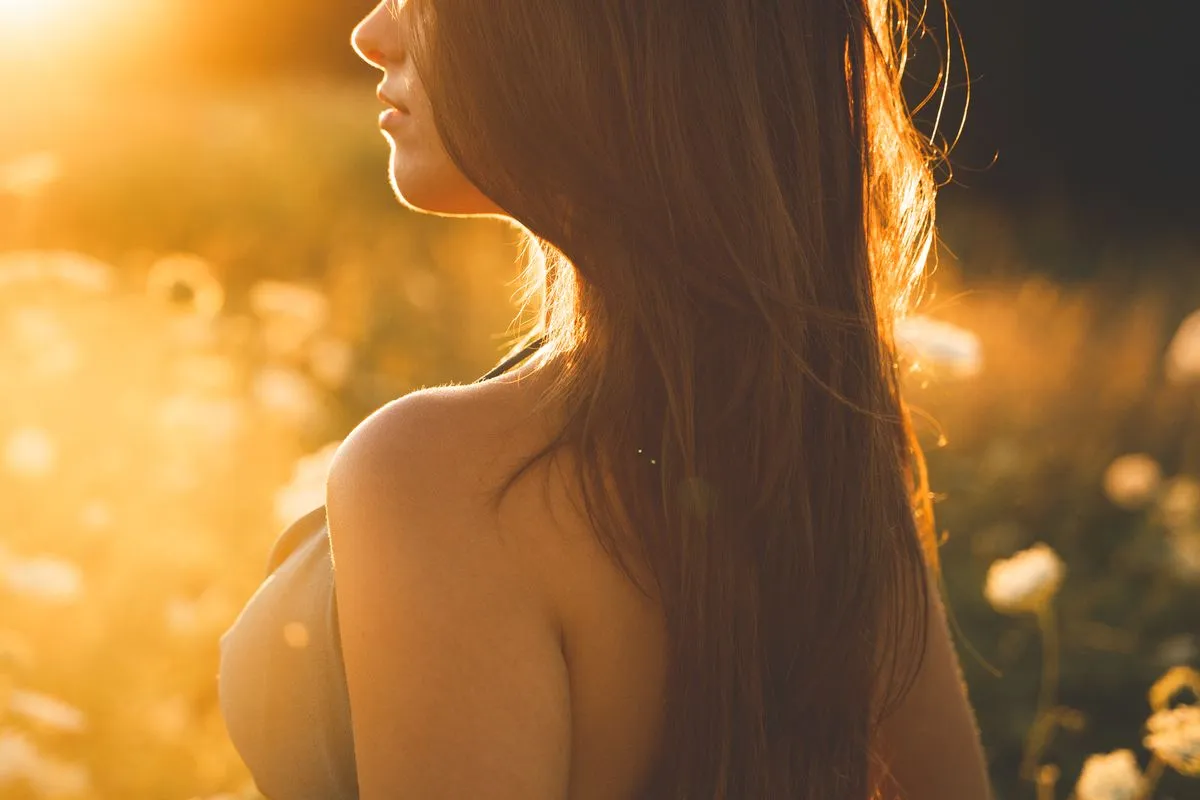
Photo by Jean-Daniel Francoeur on Pexels
Use Long Shadows as Leading Lines
Low-angle sunlight stretches shadows across the ground, and every one of them is a free compositional tool. A shadow from a tree, a fence, or a person can act as a leading line guiding the viewer’s eye through the frame. Position your subject so their shadow falls toward an interesting background element.
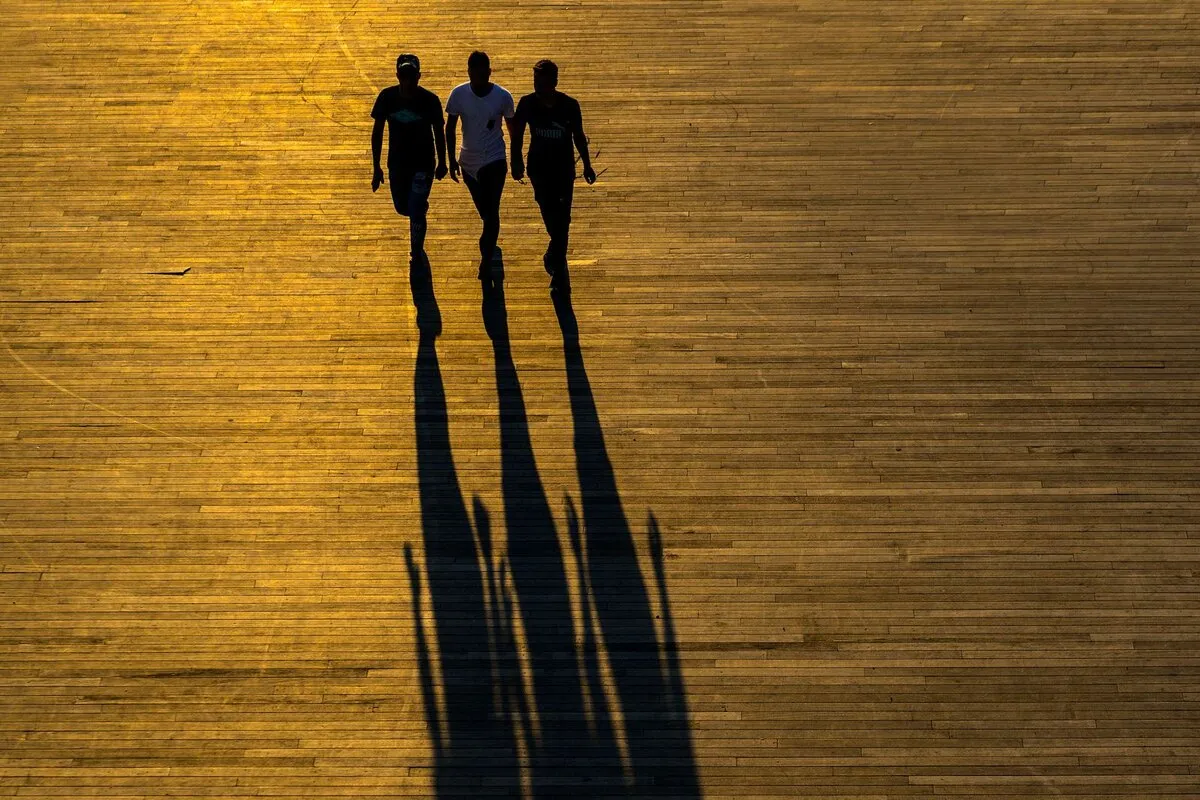
Photo by yavuz pancareken on Pexels
Include the Sun in the Frame
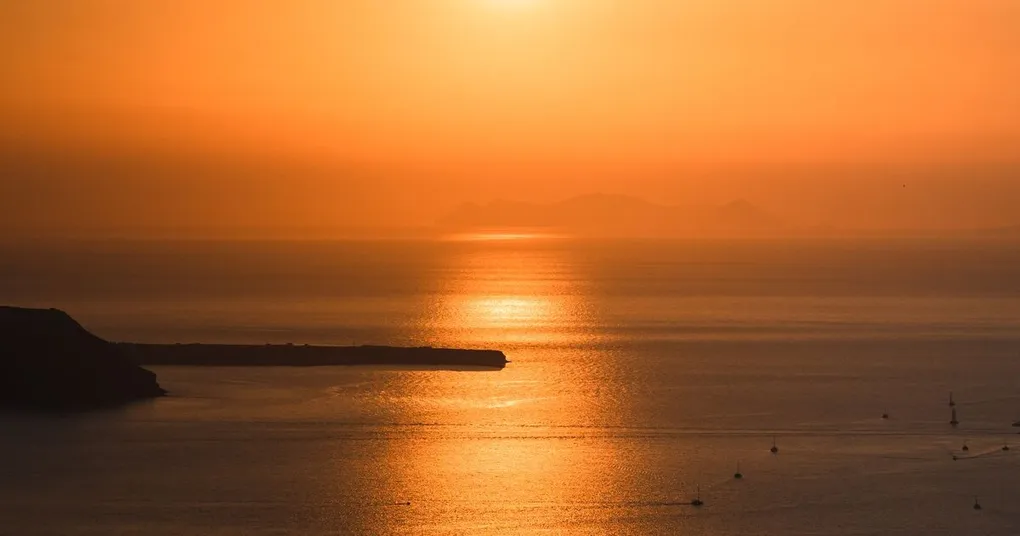
When the sun is just above the horizon, it becomes a compositional element rather than a problem. Place it behind your subject for a silhouette, or frame it between branches or buildings for a starburst effect. Use a narrow aperture (f/16 or smaller) to turn the sun into radiating spikes.
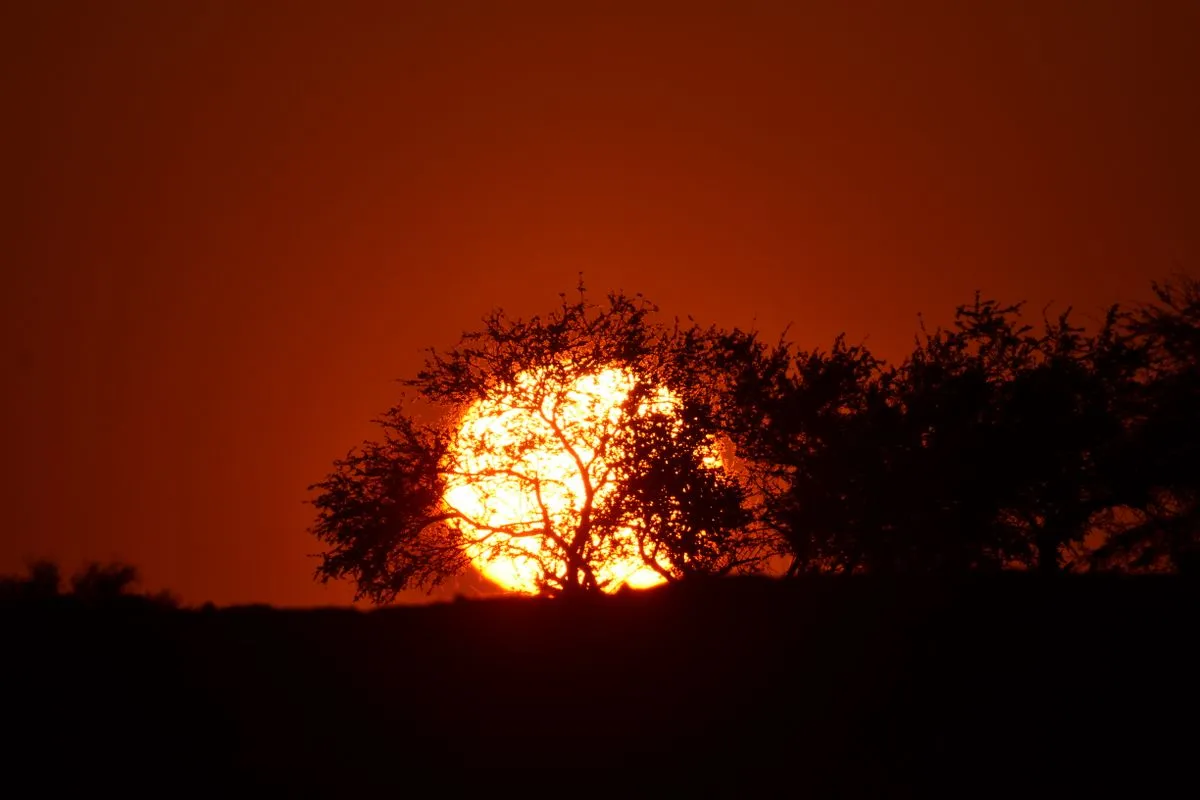
Photo by Kallie Calitz on Pexels
The Color Contrast Trick
Golden light on a blue sky creates natural color contrast. Look for scenes where warm light hits part of the frame while other areas fall into cool shadow. This warm-cool tension is one of the most striking effects in photography, and it costs you nothing in post-processing.
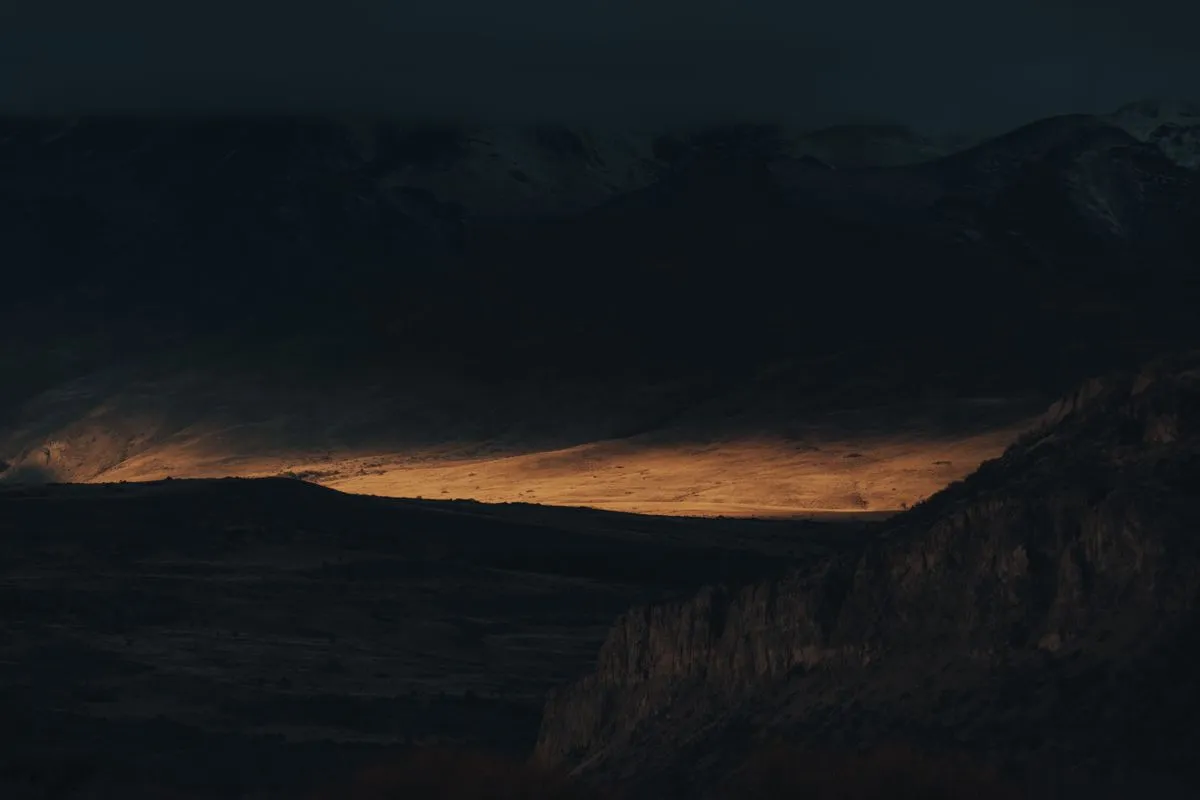
Photo by Gaspar Zaldo on Pexels
6. Common Golden Hour Mistakes
Most golden hour tips tell you what to do. What actually ruins sessions is usually on the other list.
Showing Up Late
Golden hour moves fast and does not offer retakes. If you arrive when the light is already golden, you have missed the setup phase. Arrive 15 to 30 minutes early and scout your location during the day.
Blown-Out Highlights
The sun is still bright even at a low angle. If your sky reads pure white on the histogram, that color data is gone for good. Use spot metering on your subject, or set exposure compensation to -0.7. Editing can rescue shadows, but never clipped highlights.
Wrong White Balance
Auto white balance sees all that gold and tries to “fix” it, handing you a flat, neutral image of a scene that was anything but. Switch to Daylight or Cloudy to keep the warmth you came for.
Leaving Too Early
The light does not stop being useful when the sun touches the horizon. The 10 to 20 minutes after sunset often produce the richest sky colors of the whole session: pinks, purples, and deep oranges. Stay put. Some of the best frames happen while everyone else is packing up.
7. Gear That Helps
You do not need special equipment for golden hour, which is part of its charm. A few items make the experience easier, though:
- A tripod. Essential once light fades below 1/60 shutter speed.
- A reflector. A 5-in-1 reflector ($30-60) bounces golden light back onto your subject’s face. The gold side works especially well.
- A lens hood. Low-angle sun loves to throw flare across your lens. A hood blocks stray light, though a little flare can be a creative choice.
- A graduated neutral density filter. Darkens the sky while leaving the foreground untouched. Useful when the sky is several stops brighter than the land.
Make It a Habit
Golden hour happens twice a day, every day, and it never repeats itself. The photographers who improve fastest are simply the ones who keep showing up. Pick one location near you: a park, a hill, a stretch of shoreline. Shoot it at golden hour for a month and watch the light change with the seasons. Those sessions will teach you more than any online course.