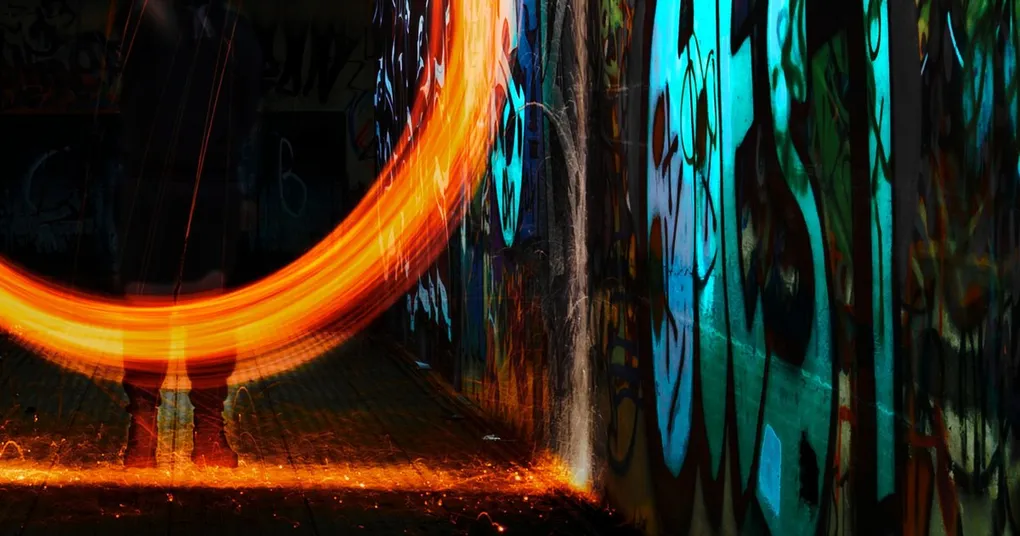
Thirty seconds at f/8 and ISO 100, in a room dark enough that the camera sees nothing, plus one flashlight: that is the entire recipe. Anything you keep moving records as a streak of light, and anything that stays still in the dark stays invisible, which is why you can walk right through your own frame and never appear in the photo.
That one asymmetry is what makes light painting photography feel like a loophole. The camera is not capturing a moment; it is accumulating everything that happened while the shutter was open, and you get to decide what happens.
The Rule That Makes It Work
Long exposure light painting stacks two exposures in one frame:
- The ambient exposure (whatever light is already in the scene) is set by shutter speed, aperture, and ISO.
- The painted exposure is set by how bright your light is, how close you hold it, and how long you leave it in one place.
Your job is to make the first one almost black so the second has room to work. At f/8 and ISO 100 in real darkness, thirty seconds of “nothing” still records as nothing.
Speed becomes your brush. Sweep a flashlight quickly and you get a thin, dim line. Slow down, or pause, and that spot burns in bright, then blows out to featureless white. None of that is in a camera menu; it is in your wrist.
Light Painting Camera Settings
| Setting | Starting point | Why |
|---|---|---|
| Mode | Manual | Exposure by decision, not by meter |
| Shutter | 15 to 30 seconds | Long enough to walk and paint, short enough to review |
| Aperture | f/8 (f/5.6 to f/11) | Depth of field for a lit subject, dark background |
| ISO | 100 | Keeps the unlit scene black and the shadows clean |
| Focus | Manual | Autofocus cannot see anything out there |
| White balance | Daylight, or about 5000K | A fixed reference to judge color against |
| Drive | 2 second timer or remote | Stops your hand shaking the first frame |
Two of those rows go against normal night-shooting instincts. ISO stays at base, because there is no fleeting subject to freeze and no reason to accept the noise that comes with high ISO photography. And white balance goes on a fixed value rather than auto, so your torch renders the same color frame after frame instead of drifting every time you point it at something new.
Beyond 30 seconds, most cameras run out of metered shutter speeds and you switch to Bulb (B), where the shutter stays open as long as the button is held. A wired remote release, usually under $30, locks it open so you are not stuck at the camera. Nikon bodies add a Time (T) mode, where one press opens the shutter and a second closes it.
One menu item worth finding before you start: long exposure noise reduction shoots a matching dark frame after every exposure, so a two minute shot costs four minutes. Leave it off while you experiment.
The Gear Is Cheaper Than You Think
A tripod is the only real requirement. Everything in the frame depends on the camera not moving for half a minute, and a bag hung from the center column steadies it on a breezy night. Older stabilization systems can hunt on a tripod and introduce the exact blur they exist to prevent, so switch stabilization off once the camera is locked down.
Your first light is already in a drawer. A pocket LED flashlight, a headlamp, or a phone torch all work. Beam shape matters more than power: a tight spot draws crisp lines, a floodier beam covers surfaces evenly, and taping a scrap of paper over the front turns a hard beam into a soft one. When you outgrow that, an RGB LED wand like the Godox LC500R (typically under $150) gives you a long even source and any color you want without hunting for gels. Dedicated kit goes further still: fiber optic brushes that screw onto a compatible torch, or a programmable LED stick like the Pixelstick (several hundred dollars) that draws images into the air pixel by pixel.
Color is the trap in a mixed bag of lights. A cool white LED torch sits near 5000K to 6500K and a household bulb near 2700K, so two of them in one exposure read as blue and orange. Commit to one source per frame, or lean into the clash deliberately; shooting RAW and fixing white balance in photography afterwards saves more frames than any in-camera setting.
And wear dark clothes: anything pale catches spill from your own light and paints a ghost of you into the shot.
How to Do Light Painting Photography, Step by Step
- Find your dark. A garage with the door shut gives you total control on the first try. Outdoors, wait until roughly an hour after sunset on a moonless night; earlier than that, residual sky glow competes with you.
- Compose and focus while you can still see. Light the subject with your torch, let autofocus grab it, then flick the lens to manual so nothing hunts once the light is off.
- Shoot a black frame first. One 30 second exposure with no painting at all. If the background shows detail, close the aperture a stop or shorten the shutter. That empty frame is your canvas, and it should be nearly empty.
- Paint. Trigger the shutter, then keep the light moving, sweeping across surfaces rather than holding it in one spot.
- Change one thing per frame. Too dim means slowing your sweep, stepping closer, or adding a second pass. Blown out means speeding up, backing off, or diffusing the light. Adjust two variables at once and you learn nothing about either.
Expect the first three frames to be wrong. The feedback loop is only thirty seconds long, so ten minutes of trial and error teaches your hand what the sensor records.
Light Painting Photography Ideas
Light writing. Words and shapes drawn in the air, facing the camera. You have to write backwards for text to read correctly, or write it normally and flip the frame in editing. LIFE magazine photographer Gjon Mili’s 1949 photographs of Picasso drawing a centaur in mid-air with a light pen are still the most famous example of the technique.
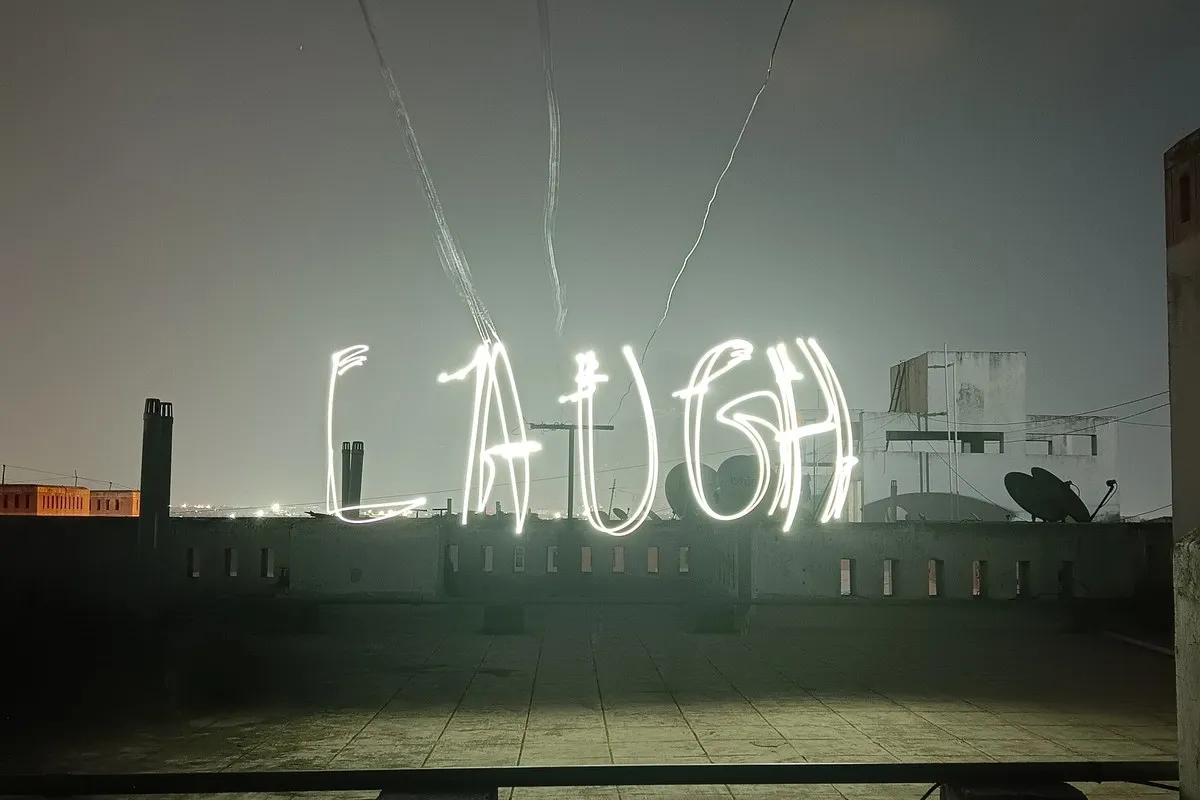
Photo by Adin mohan on Pexels
Orbs. Spin a light on a short string in a vertical circle while slowly rotating your whole body. The overlapping arcs stack into a glowing three-dimensional sphere hovering above the ground.
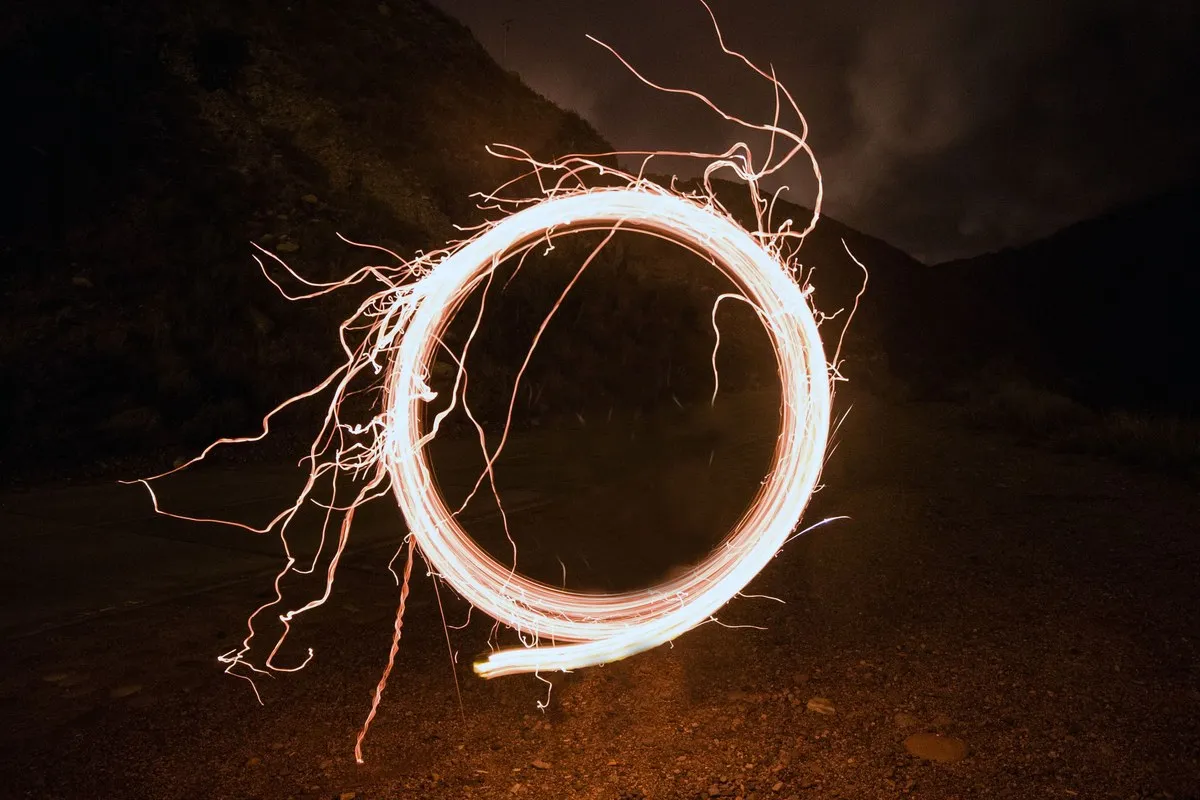
Photo by Tomas Anunziata on Pexels
A lit subject in a dark landscape. One brief sweep across a barn, a rock, or a lone tree, then let the rest of the frame stay black or hold the night sky. Restraint is the whole skill here: a two second pass usually beats a ten second one.
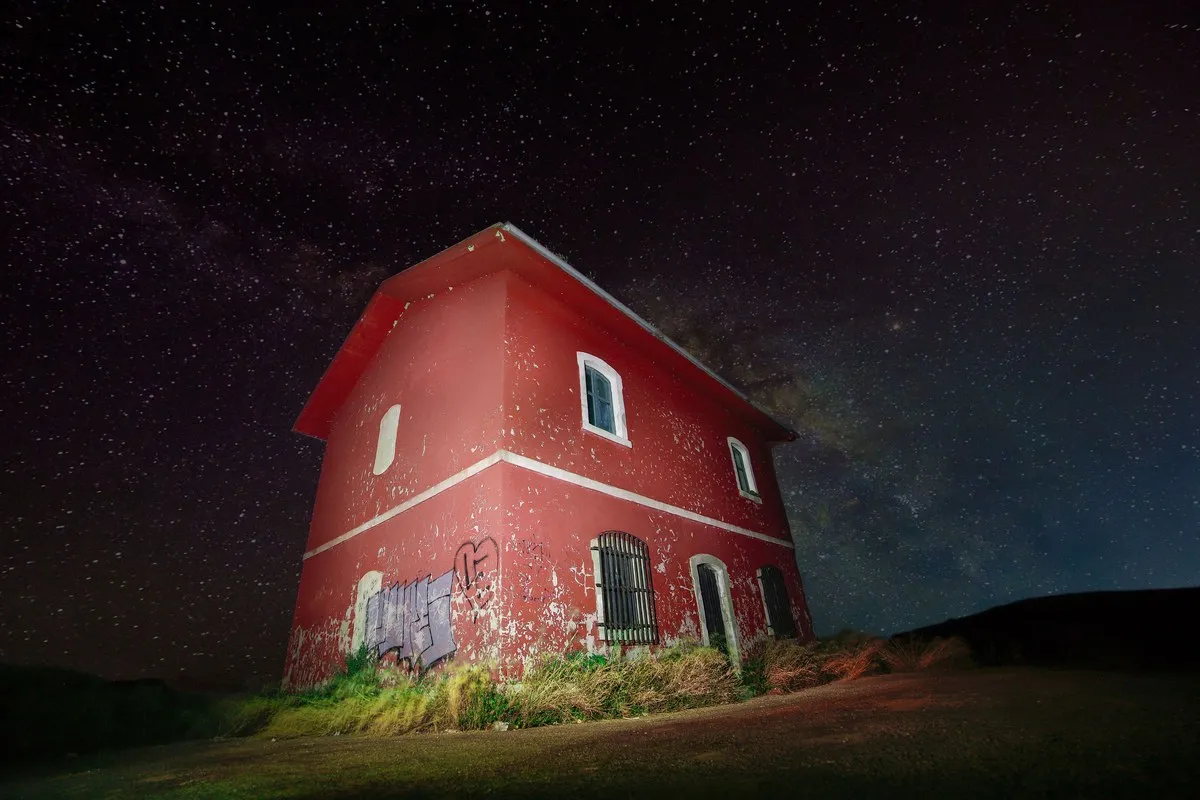
Photo by Jo Seph on Pexels
Vehicles. Light painting a car is panel-by-panel discipline. One pass per panel with a diffused wand held parallel to the bodywork, light source always outside the frame, because glossy paint mirrors your torch straight back as a bright blob.
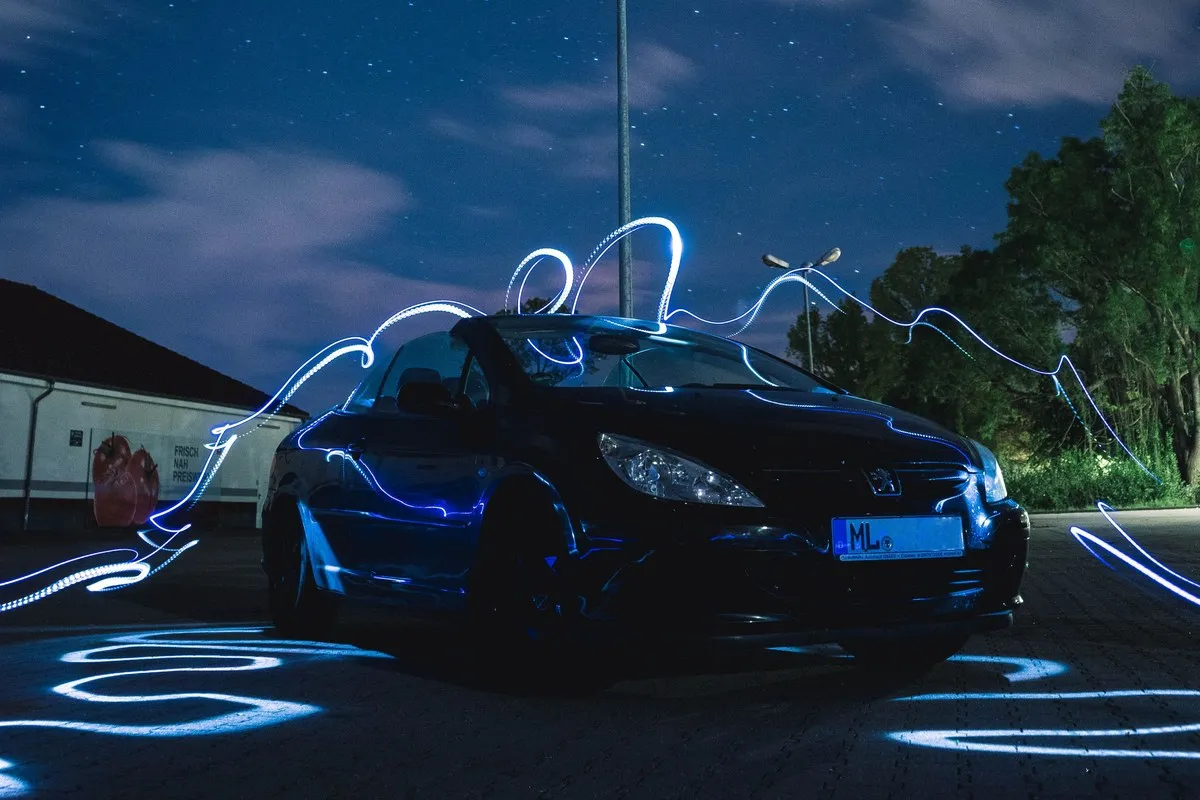
Photo by mARCo on Pexels
Steel wool. Fine steel wool burning inside a spinning whisk throws sparks in every direction: spectacular, and genuinely dangerous. Concrete or gravel only, cotton clothing, gloves, eye protection, water on hand.
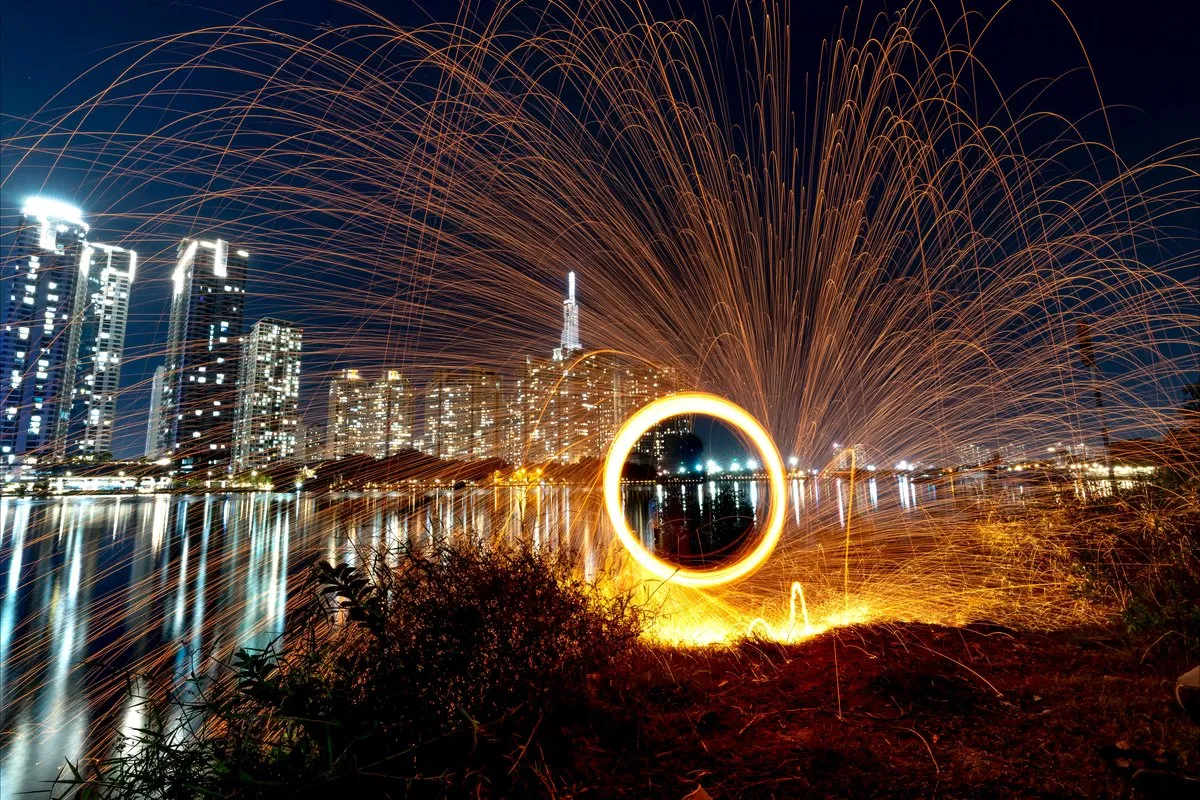
Photo by Quang Nguyen Vinh on Pexels
Portraits. Paint the background or the outline during the long exposure, then fire a flash to freeze the person sharply. Set it to rear-curtain sync so the pop lands at the end of the exposure; flash photography covers mixing a burst with ambient light.
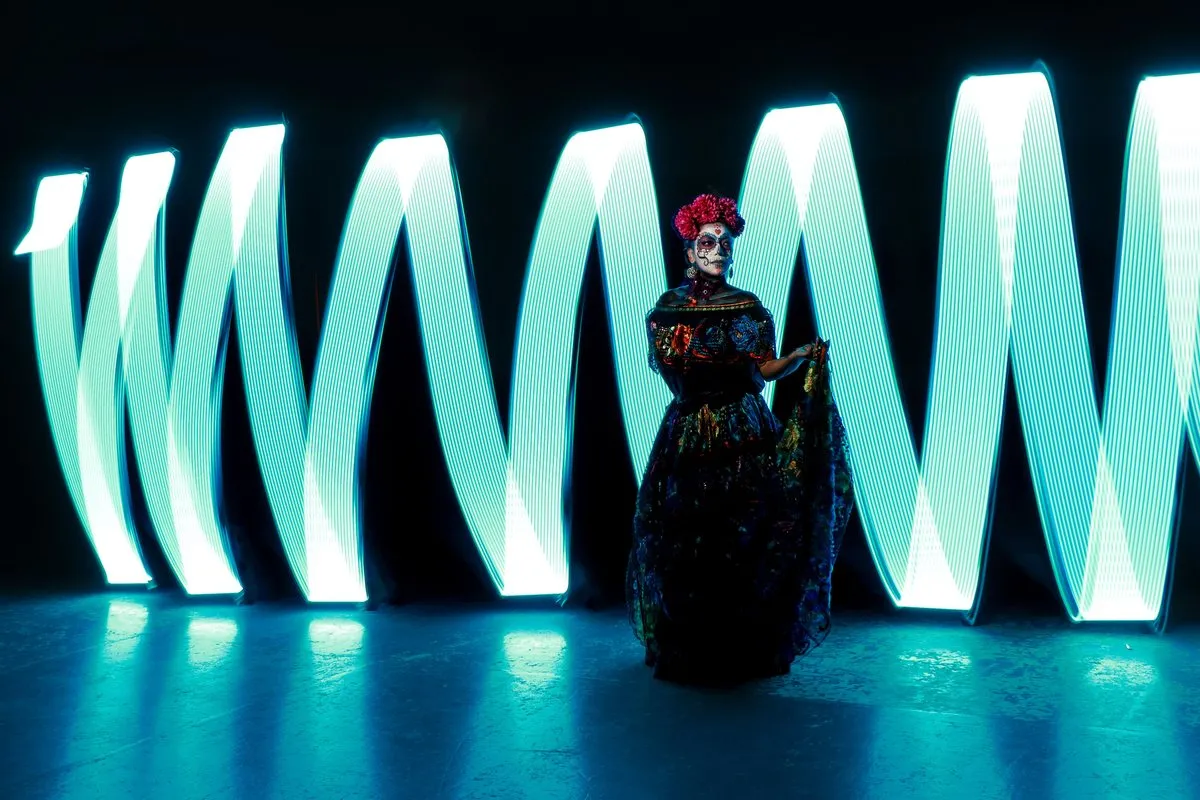
Photo by Erika Reyes on Pexels
Where the Shot Usually Goes Wrong
Painting from the camera position. A light held next to the lens gives flat, frontal illumination, the same problem direct flash has. Walk to the side and light the subject from 45 degrees or further around.
Aiming the light at the lens. A torch pointed at the camera, even for an instant, reads far brighter than the same torch on a wall, and one careless sweep flares the whole frame.
One pass and done. Thirty seconds is a long time. Layer it: a base sweep across the subject, a second pass to lift one detail, an accent in the background.
The best part of light painting photography is how cheap the mistakes are. A dark room, a flashlight, and fifteen minutes gets you through the whole learning curve, and every frame comes out of your own choices rather than whatever light happened to be there. Very little else in photography hands you a blank canvas and a brush.