A single window, a piece of white poster board, and any camera with manual mode are enough to shoot product photos that sell. Good product photography depends on controlling light and keeping the setup consistent, not on expensive gear, which makes it one of the most accessible paid photography niches to learn.
Product photography splits into two broad styles. Catalog shots show the product clean and isolated, usually on a plain white background; this is the style that fills Amazon listings and online shops, and it makes up the bulk of product photography for ecommerce. Lifestyle shots place the product in a styled context, a coffee mug on a wooden desk next to an open book, to sell a mood rather than just an object. Catalog-style work demands less styling and teaches lighting control that transfers directly to lifestyle shots later.
The Product Photography Setup You Need
The barrier to entry is lower than most photography niches:
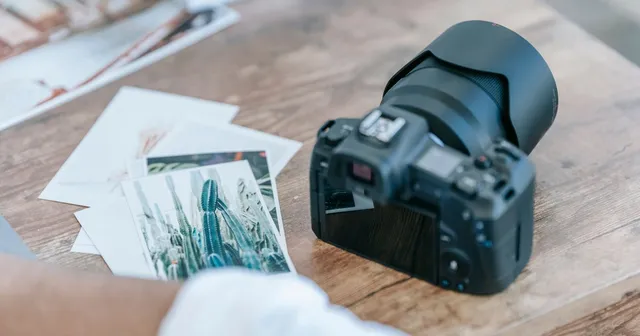
- Camera: Anything with a manual mode, including the camera you already own. There is no special DSLR for product photography; any mirrorless or DSLR body works, and a smartphone with a pro camera app is a legitimate starting point for online store images.
- Lens: A 50mm prime is the classic product lens because it renders objects without wide-angle distortion. The Canon RF 50mm f/1.8 STM (around $200) or Sony FE 50mm f/1.8 (around $250) are popular affordable choices, and a kit zoom set near 50mm works nearly as well. For small items like jewelry or watches, a macro lens reveals texture a standard lens cannot reach.
- Tripod: Non-negotiable. Product shots use narrow apertures, which forces slow shutter speeds. Any stable tripod works; one with a center column that tilts horizontally also lets you shoot overhead.
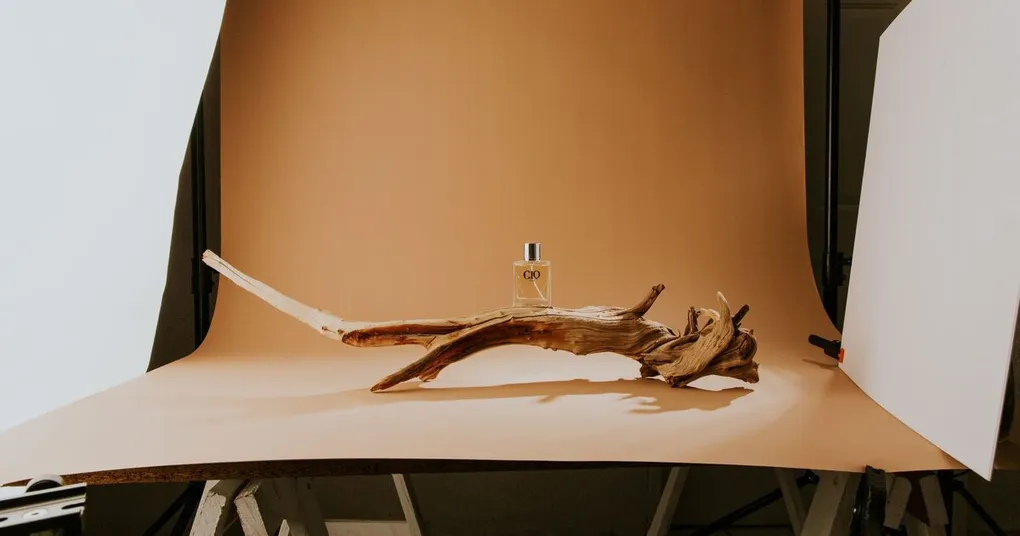
- Table and sweep: A folding table near a window plus a large sheet of white poster board, curved so it runs from upright behind the product down onto the table with no crease, creates the seamless white background used across ecommerce.
- Reflector: A sheet of white foam board from a craft store, typically under $5, bounces light back into the shadows. Black foam board does the opposite, deepening shadows when you want drama.
That is the whole product photography setup: a table, a sweep, one light source, one reflector, and a camera on a tripod.
Product Photography Lighting
Lighting is where amateur and professional product photos diverge. Two setups cover nearly every product shoot.
Setup 1: Window Light
Place the table so daylight falls across the product from one side. Direct sun is too harsh; a sheer curtain or an overcast day produces soft, even illumination. Put the foam board reflector on the shadow side to lift the dark areas. You get one light direction and one set of soft shadows, which reads as clean and professional.
Setup 2: A Single Artificial Light
A basic softbox kit or LED panel (typically $50 to $150) replaces the window and makes results repeatable at any hour. Position it about 45 degrees to the product, slightly above, with the same reflector on the opposite side. Artificial light lets you shoot identical framing across dozens of products in one session, which is why catalog studios rely on it.
Whichever setup you choose, use only one light source type. Mixing daylight from a window with a warm desk lamp produces two competing color temperatures that no white balance setting can fully fix.
For the bright, clean look on white backgrounds, the techniques in our high key lighting photography guide apply directly.
Backgrounds and Surfaces
White seamless is the industry default for a practical reason: marketplaces like Amazon require main product images on a pure white background, and a white sweep makes the product the only thing to look at. Poster board handles this for almost nothing.
Lifestyle shots open up more options. Wood planks, marble-look boards, linen, and colored paper all work as surfaces; keep them matte, because glossy finishes throw distracting reflections. Limit the palette to two or three tones that complement the product, and keep props subordinate to the item being sold. Once the scene is set, the camera work itself is almost mechanical.
Camera Settings
With the camera locked on a tripod, shutter speed stops mattering, and aperture takes over as the creative variable.
| Setting | Recommended | Why |
|---|---|---|
| Aperture | f/8 to f/11 | Keeps the whole product sharp front to back |
| ISO | 100 (base ISO) | Cleanest files, no noise |
| Shutter speed | Whatever the exposure needs | Tripod makes slow speeds safe |
| Focus | Manual or single-point AF | Precision on the key detail |
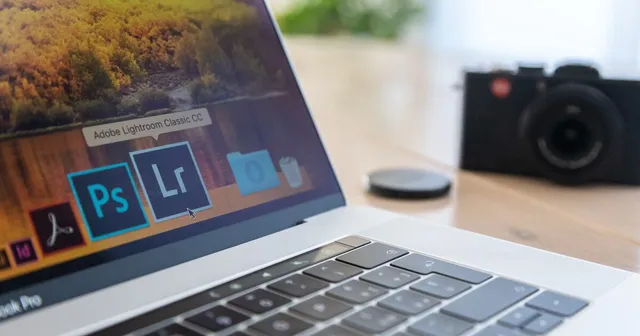
| Format | RAW | White balance and highlight recovery |
A narrow aperture demands a slow shutter, sometimes a full second or more indoors. That is fine; nothing in the scene moves. RAW matters because white products on white backgrounds confuse the meter, and reflective surfaces like glass and metal clip highlights easily. RAW gives you the latitude to pull both back in editing.
Shot Types to Cover for Every Product
Clients and shop listings expect more than one angle. Build a habit of covering this shot list.
Hero Shot
The product front and center, usually at a slight three-quarter angle that shows its depth.
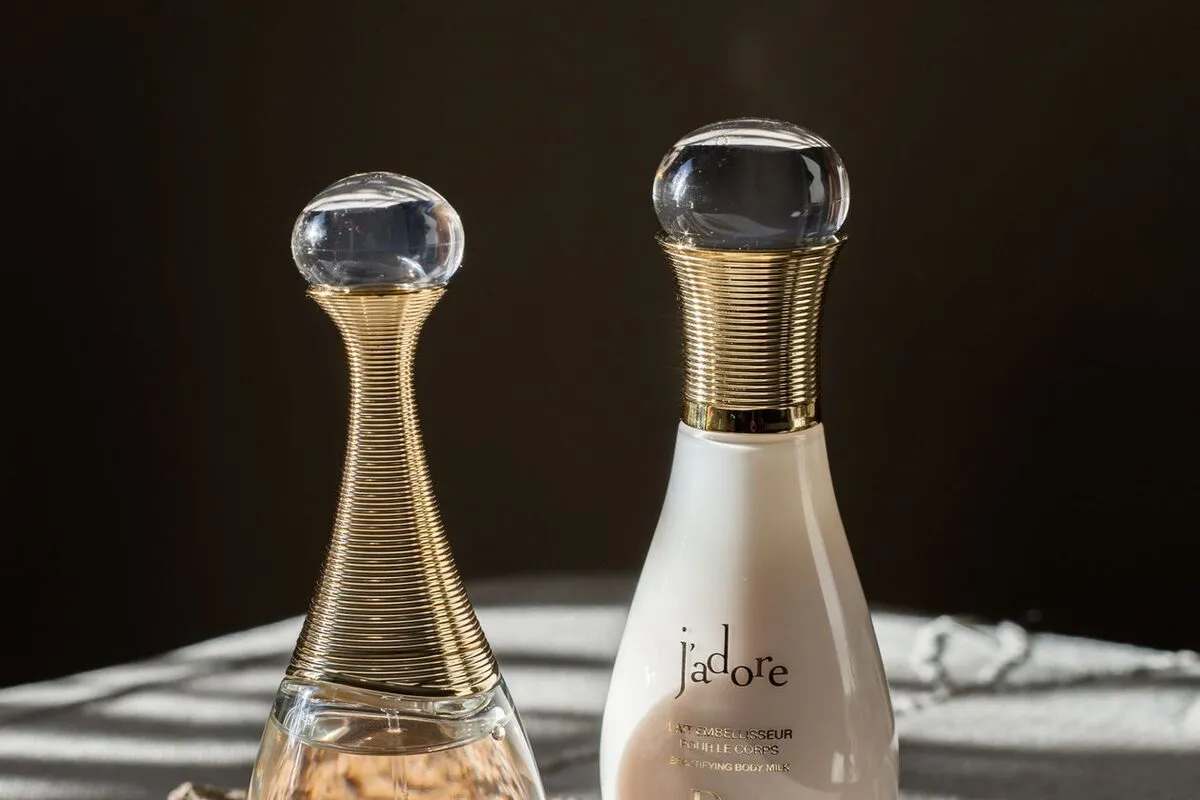
Photo by Maryjo Post on Pexels
Detail Shots
Close-ups of texture, stitching, labels, and materials. These answer the questions a buyer cannot ask by picking the item up.
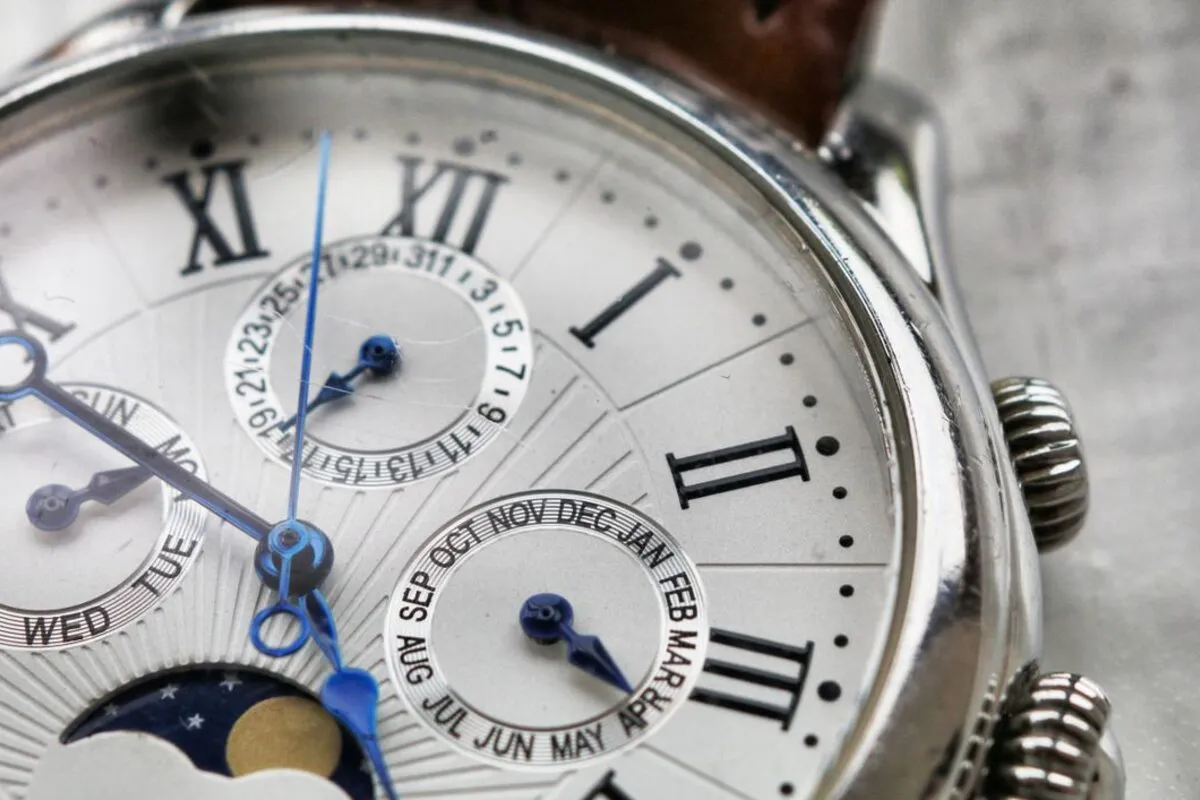
Photo by Mat Brown on Pexels
Scale Shot
The product next to a familiar object, or held in a hand, so buyers can judge its size.
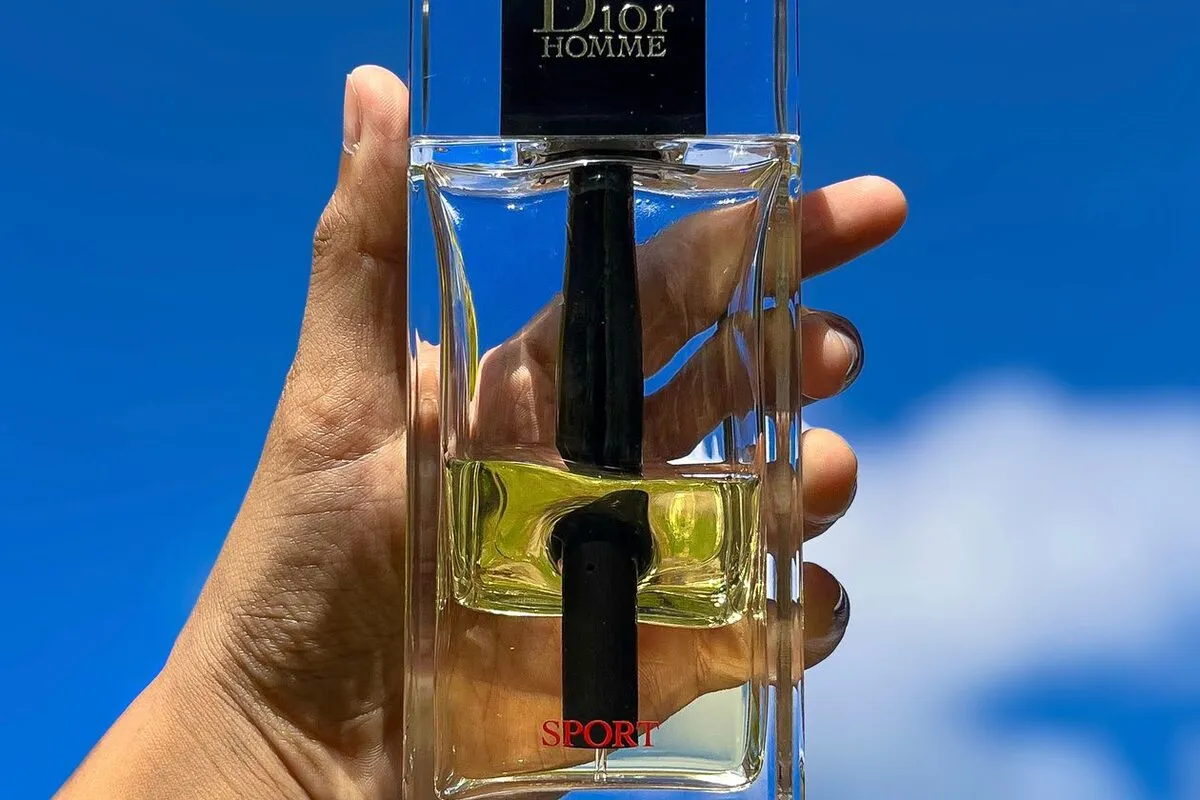
Photo by Imaam Alif Akbar Husain on Pexels
Flat Lay
An overhead arrangement of the product with supporting props. Flat lay is its own discipline with distinct composition rules; our flat lay photography guide covers it in depth.
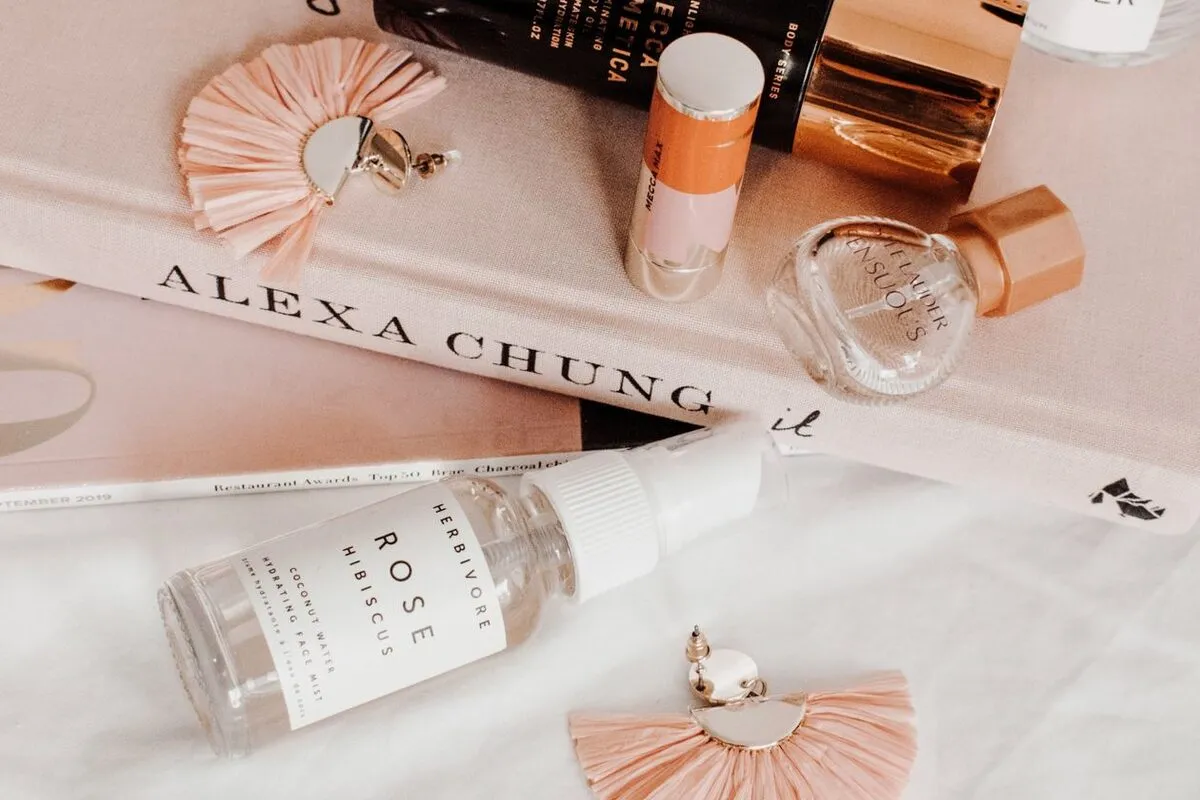
Photo by Jess Harper Sunday on Pexels
For catalog work, center the product and keep vertical lines vertical. A tilted camera makes bottles lean and turns boxes into trapezoids, and correcting that in editing costs resolution.
Product Photography Pricing
Product photography pricing follows one of two structures, whether you are hiring it out or charging for it yourself. Per-image pricing suits small jobs: product photography services for straightforward white-background work often start around $20 to $50 per finished image, with styled lifestyle shots costing more. Day rates, which for experienced product photographers commonly run into the hundreds, suit large shoots with styling and retouching included. The final product photography cost depends on the number of products, styling complexity, retouching time, and how the images will be used, so treat any range as a baseline. If you are the one charging, start at the lower end and raise your rates as your portfolio and speed improve.
Delivery matters as much as the shoot itself. Clients expect to review proofs and download finals without email attachments or file-transfer links. Sharing a finished gallery through Picstack gives them a private space to browse, pick favorites, and download full-resolution files, which makes even a first paid job feel professional.
Getting Better Fast
The fastest way to improve is repetition with one fixed setup. Shoot the same product under the same window light ten times, changing one variable at a time: reflector distance, aperture, background. That kind of repetition turns the product photography tips in this guide into habit faster than any amount of reading.
Pick something on your desk right now, a mug, a watch, a pair of headphones, and run it through the full shot list above. By the third product, the setup takes minutes instead of an hour, and the results start looking like the listings that made you want to learn this in the first place.