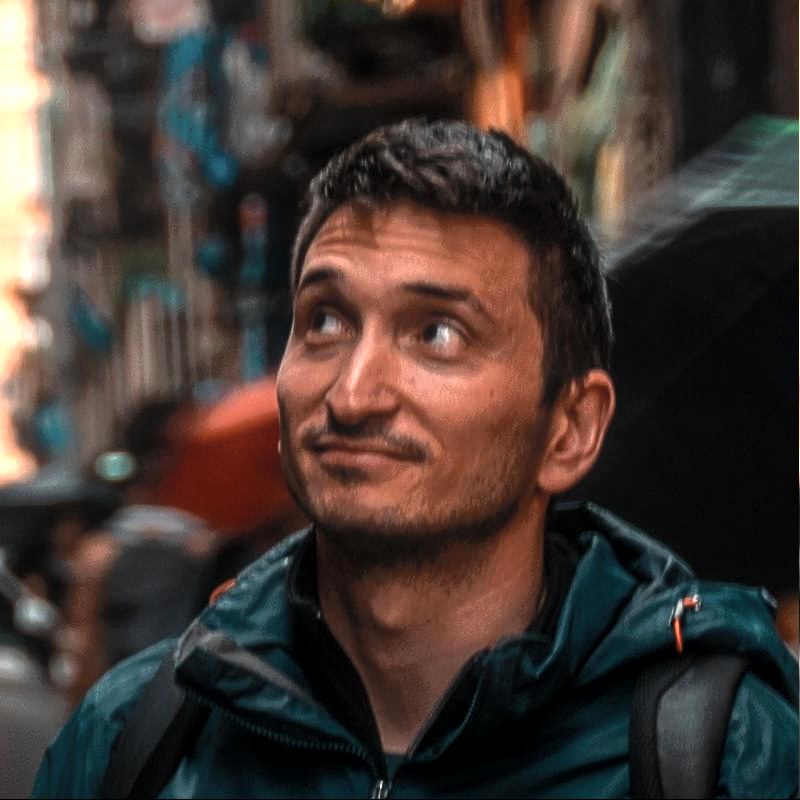
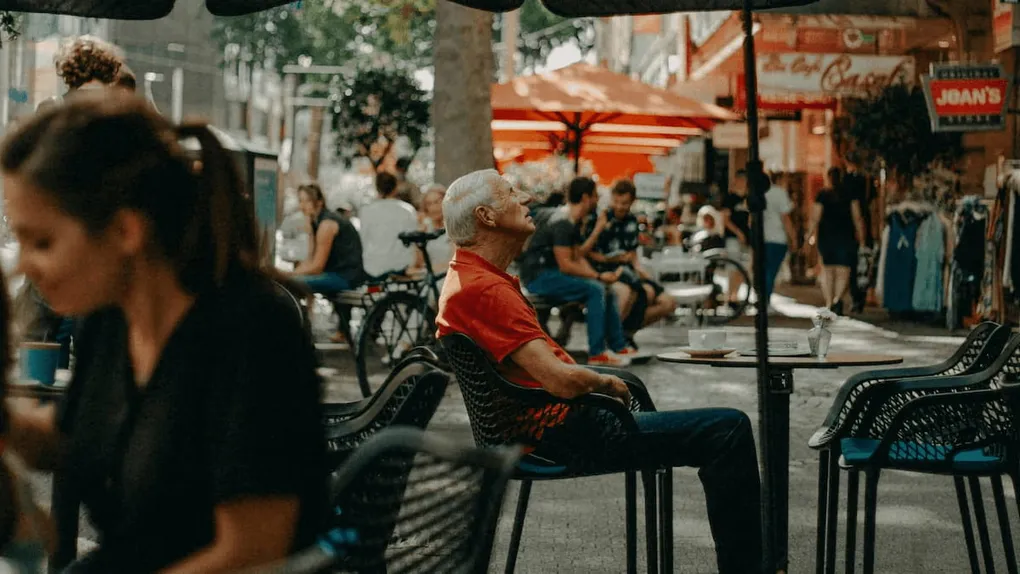
Street photography is the practice of photographing everyday life in public spaces. It is candid, unposed, and driven by observation rather than direction. A gesture between strangers, light cutting across a sidewalk, a solitary figure in an empty frame; these are the raw materials. The photographer’s job is to notice them before they vanish.
This guide covers the street photography tips, techniques, and settings that produce authentic images, plus the practical habits that sustain the work. Whether you are working with a dedicated camera or a smartphone, the principles of candid street photography remain the same. Anticipation, positioning, and timing matter more than equipment.
What Street Photography Is (and Is Not)
Street photography documents human presence in public environments. The defining traits are candidness and context. Subjects are not posed, and the environment is part of the story.
Street photography is not the same as urban landscape photography, which treats buildings and infrastructure as the primary subject. It is also distinct from street portraiture, where subjects are aware of the camera and often participate in the image. Both are valid genres, but they operate under different rules and intentions.
The unposed nature of street photography creates ethical and legal gray areas. Photographing in public is legal in most jurisdictions, but photographing children, people in vulnerable situations, or entering private property raises different considerations. Good street photography respects the dignity of the subject even when the law does not require it.
Equipment Choices
Street photography rewards small, quiet, and fast-handling gear. The best camera is the one you will carry every day.
| Type | Pros | Cons | Best For |
|---|---|---|---|
| Mirrorless interchangeable lens | Excellent image quality, fast autofocus, compact for the sensor size | More expensive, attracts attention with larger lenses | Serious practitioners who want maximum control |
| Fixed-lens compact (35mm or 28mm) | Extremely portable, quiet shutter, minimal setup | No zoom flexibility, fixed focal length | Daily carry and discrete shooting |
| Smartphone | Always available, inconspicuous, instant sharing | Limited low-light performance, shallow depth of field control | Beginners and casual documentation |
| Film rangefinder | Quiet mechanical shutter, manual focus discipline, distinct aesthetic | Ongoing film cost, no instant review, slower workflow | Photographers who value process over speed |
Lenses and Focal Lengths
35mm is the standard focal length for street photography on full-frame cameras. It matches the field of view of human peripheral vision, which means the resulting images feel natural. A 35mm lens keeps subjects in environmental context; you see the person and the space around them.
28mm is wider and more immersive. It demands closer proximity to subjects and stronger composition because more elements enter the frame. The distortion at the edges can be dramatic or distracting, depending on execution.
50mm compresses the scene slightly and isolates subjects from cluttered backgrounds. It works well for details, expressions, and layered scenes where the photographer is further from the action.
Prime lenses are preferred over zooms by most dedicated street photographers. A fixed focal length forces you to move and pre-visualize the frame, which improves reaction time. Zoom lenses add decision points that slow you down at the moment of capture.
Camera Features That Matter
- Fast wake-from-sleep: The camera must be ready the moment you raise it. Deep sleep modes that take two seconds to wake cost shots.
- Quiet shutter: Mirrorless electronic shutters are nearly silent. Mechanical shutters on DSLRs are audible and can alert subjects.
- Tilt screen or waist-level viewfinder: Shooting from chest or waist height makes you less conspicuous and offers unusual angles.
- Responsive autofocus: Face detection and eye autofocus help, but single-point autofocus with back-button focusing is equally fast for experienced users.
- Weather sealing: Rain, dust, and temperature extremes are part of street work. Sealing protects the camera during long sessions in unpredictable conditions.
Camera Settings for Street Photography
The right street photography settings balance speed, depth of field, and image quality without demanding constant adjustment.
| Setting | Recommended Approach | Reason |
|---|---|---|
| Mode | Aperture priority (A/Av) | Control depth of field; let shutter speed float |
| Aperture | f/5.6 to f/8 | Enough depth of field for zone focusing and environmental context |
| Shutter speed | Minimum 1/250s | Freeze walking motion and gestures; set via auto-ISO minimum threshold |
| ISO | Auto, capped at 3200-6400 | Modern sensors handle high ISO well; prefer sharpness over noise |
| Focus | Zone focus or single-point AF | Pre-focus to a set distance, or use back-button AF for control |
| Metering | Evaluative/matrix | Handles mixed lighting in urban environments |
| File format | RAW | Exposure and white balance flexibility in post-processing |
Zone Focusing
Zone focusing is the technique of pre-setting focus to a specific distance so everything within a range is acceptably sharp without the camera needing to autofocus. At f/8 on a 35mm lens, focusing at 2 meters keeps subjects from roughly 1.5 meters to 3 meters in focus. At f/11, that range extends further.
This is the fastest way to shoot. There is no autofocus lag. The camera fires the instant you press the shutter. With practice, you learn to judge distances by eye and adjust the focus ring without looking.
Exposure in Changing Light
Street environments move through patches of shadow, reflected light, and direct sun. Auto-ISO with a minimum shutter speed of 1/250s handles most of this automatically. For scenes with extreme contrast, spot metering on a mid-tone locks exposure for a sequence of frames.
Shooting in RAW provides significant recovery latitude. Highlights on pavement and deep shadows in alleys can both be recovered in post-processing if the RAW file is well exposed. See our RAW vs JPEG guide for a full comparison of why RAW matters in unpredictable lighting.
Core Techniques
The Decisive Moment
The decisive moment is the peak of action, expression, or geometry when all elements in the frame align. It was defined by Henri Cartier-Bresson as the moment when form and content converge.
This is not about luck. It is about positioning yourself where interesting moments are likely to happen, then waiting. A bus stop at rush hour, a market corner, a crosswalk during a rainstorm; these are predictable stages for unpredictable moments.
The best street photographers spend more time observing than shooting. They notice patterns of foot traffic, light direction, and background elements before raising the camera.
Working with Light
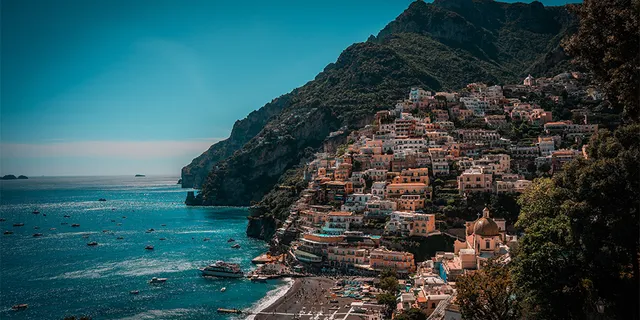
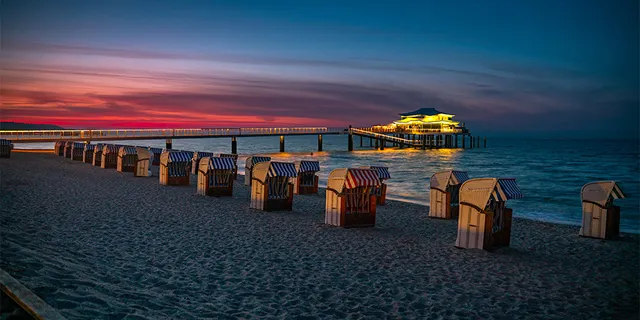
Street photography is often associated with harsh midday sun, but the best light is the same golden hour that benefits every other genre. Early morning and late afternoon produce long shadows, warm tones, and directional light that sculpts subjects.
Overcast days are underrated. Soft, directionless light eliminates harsh shadows and makes colors more saturated. Rain produces reflections, umbrellas as graphic shapes, and puddles as mirrors.
The most dramatic street photographs often use hard light deliberately. Deep shadows create geometry. A single shaft of sunlight isolates a figure against darkness. High-contrast black and white processing amplifies this effect.
Layering and Composition
A single subject in the center of the frame is rarely enough to sustain a street photograph. Layering adds depth by placing elements at different distances from the camera.
A foreground figure walking past the lens. A middle-ground subject as the main focus. A background billboard or architectural detail that echoes or contrasts with the foreground. These layers create a sense of place and complexity.
Leading lines are abundant in urban environments: sidewalks, railings, shadows, and building edges all guide the eye. Our leading lines guide covers how to use them effectively across genres, and the principles apply directly to street work.
Juxtaposition is another core tool. An advertisement showing a smiling face next to a tired commuter. A child playing near a serious adult. These contrasts create meaning without requiring explanation.
Shooting from the Hip
Raising a camera to your eye announces that you are taking a photograph. Shooting from the hip or chest level keeps the camera less visible and captures a lower, more immersive angle.
This requires practice. Zone focus is essential because you cannot see the viewfinder. Start with a wide-angle lens and a stopped-down aperture so depth of field forgives imprecise framing. Review your shots, adjust your angle, and repeat.
Some photographers prefer the tilt screen on mirrorless cameras for waist-level work. It offers framing precision without the conspicuous posture of raising the camera to eye level.
Working Close Versus Working Far
Two valid philosophies exist. Bruce Gilden works extremely close, often with a flash, producing confrontational and visceral portraits of strangers. Alex Webb works at medium distances with complex layered frames and saturated color.
Neither approach is correct. The important part is choosing one and understanding its demands. Close work requires confidence and acceptance that some subjects will react negatively. Distant work requires stronger composition and patience because the frame contains more elements to coordinate.
Building a Street Photography Practice
Developing a Project or Theme
Random shots of strangers rarely hold together as a body of work. The strongest street photography is organized around a theme, location, or visual idea.
Possible themes include:
- A single neighborhood photographed across seasons
- Morning commuters in a specific transit station
- Street vendors and their interactions with customers
- Reflections in shop windows and puddles
- A specific color or garment repeated across different subjects
- Silhouettes at a particular time of day
A theme forces you to look harder. Instead of photographing anything interesting, you photograph only what fits the project. The constraint improves observation and produces a coherent series rather than isolated images.
Post-Processing and Editing
Street photography benefits from a light editing hand. The goal is to clarify what was already in the frame, not to manufacture something that was not there.
- Exposure and contrast: Adjust to bring out the tonal structure that attracted you to the scene.
- Cropping: Straighten horizons and remove distracting edge intrusions, but avoid cropping so tightly that the environmental context disappears.
- Black and white conversion: Many street photographers work exclusively in black and white because it emphasizes form, gesture, and light over color information. This is a stylistic choice, not a requirement.
- Color grading: Subtle shifts in white balance or split toning can unify a series, but heavy filters look dated.
- Cloning and removal: Removing a distracting sign or pole is acceptable. Removing a person to “clean up” the frame crosses into digital illustration rather than documentary photography.
Edit ruthlessly. A strong street photographer might shoot a thousand frames in a month and publish ten. The editing process is where the work is defined.
Practical Habits for Better Street Photography
Carry the camera daily. The best photograph you take this month might happen on the walk to buy groceries. If the camera is at home, the moment is lost.
Shoot in familiar places. Tourist destinations produce predictable images. The streets you walk every day contain deeper stories because you understand their rhythms.
Review sparingly. Chimping, or checking the LCD after every shot, breaks observation rhythm and drains the battery. Review at the end of the session or during a break.
Work in sequences. When something interesting starts to unfold, shoot through it. The second or third frame often captures a better gesture than the first reactive shot.
Be ready for rejection. Some people will turn away, cover their face, or ask what you are doing. A smile and a brief explanation defuses most situations. If someone is genuinely upset, deleting the image is faster than arguing. The next shot is always more important than the last one.
Print your work. Images that look acceptable on a screen often fall apart in print. Printing reveals composition flaws, exposure errors, and focus issues that are invisible at small sizes. It also forces you to choose your strongest work.
How to Start Today
Street photography for beginners does not require new equipment, a foreign city, or perfect weather. Walk out the door with whatever camera you own and commit to one hour of observation.
Set the camera to aperture priority at f/8, auto-ISO with a minimum shutter speed of 1/250s, and single-point autofocus. Pick a location with foot traffic. Stand still. Watch how people move through the space. Notice where the light falls. Wait for a moment that would not exist if you were not there to see it.
The first hundred frames might be disappointing. The next hundred will show improvement. Street photography is a practice of attention. The camera is just the tool that records what you learn to see.